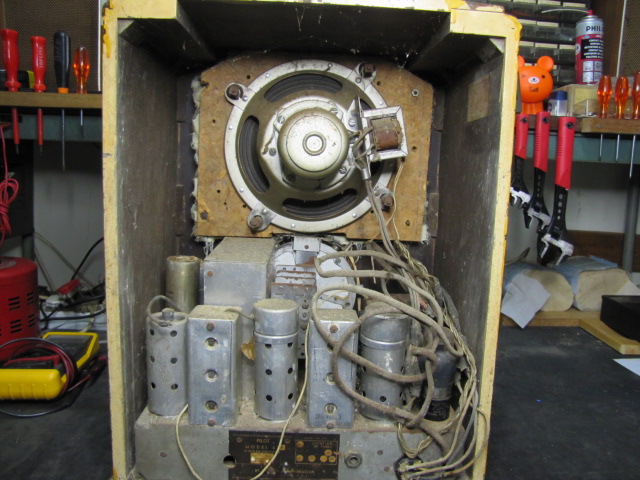
Bought this radio at auction in 1980. Didn,t have time to inspect it before the auction and once I had it realized it was going to be a pita to restore. So put it on shelf where it's been for the last 10 years. I was 60 at the time, so now, at 70 thought if I don't do it now, won't be around in another 10 years!!
As can be seen it's been through the mill, the speaker baffle board and grill cloth was replaced at some time.
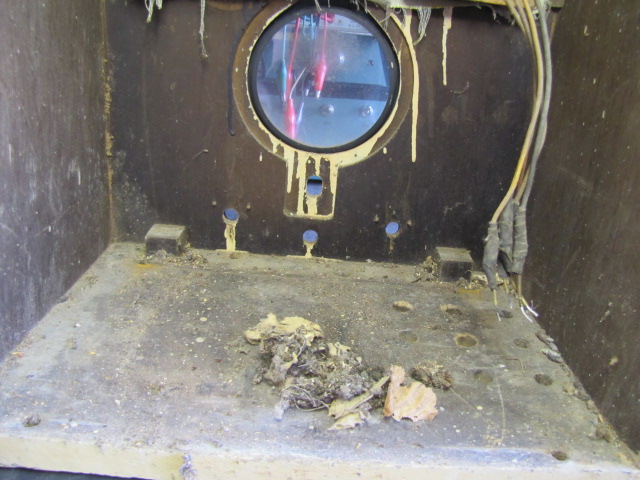
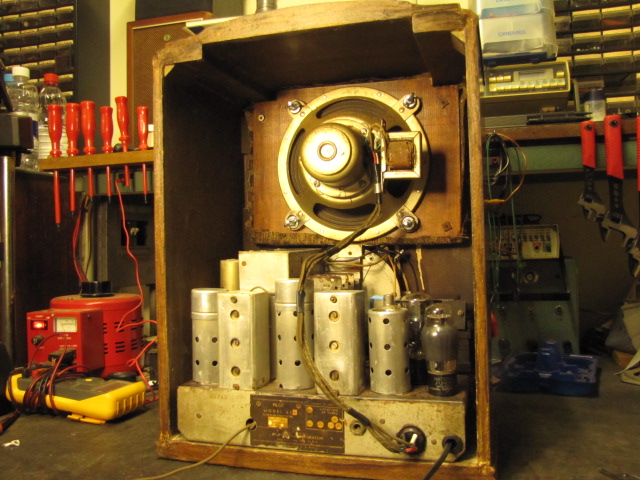
When I removed the chassis it can be seen that at some time it was also a mouse house!
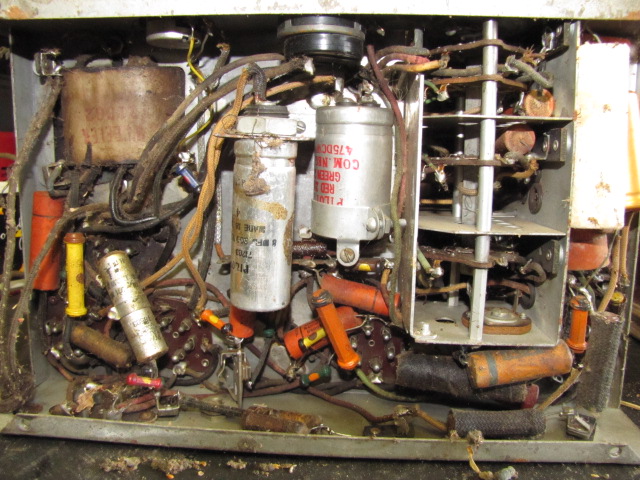
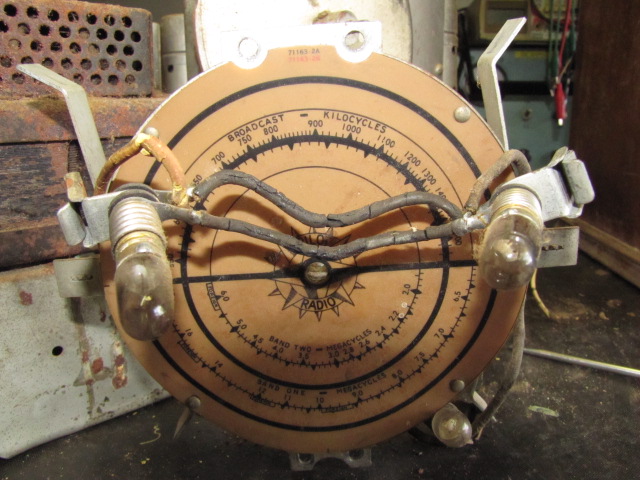
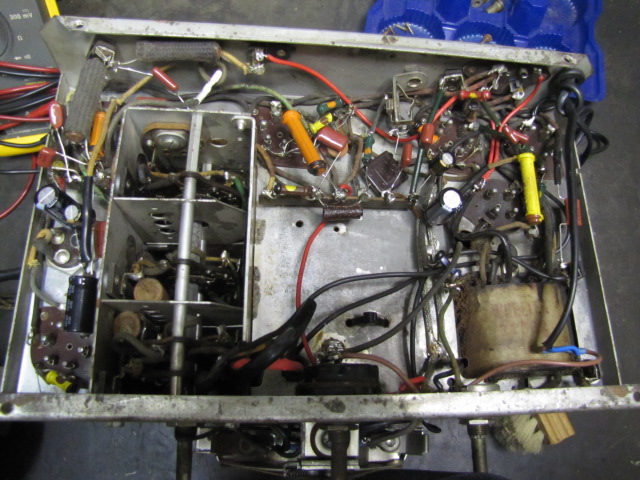
The chassis was also badly corroded (mouse wee?) Under the chassis looked untouched, wiring for dial lights was brittle and had to be replaced .
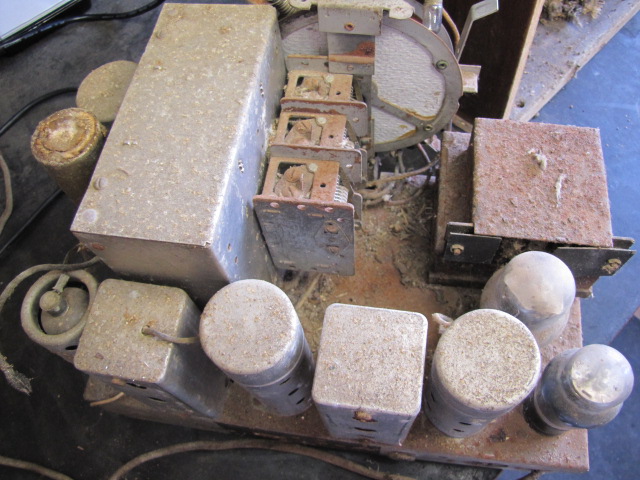
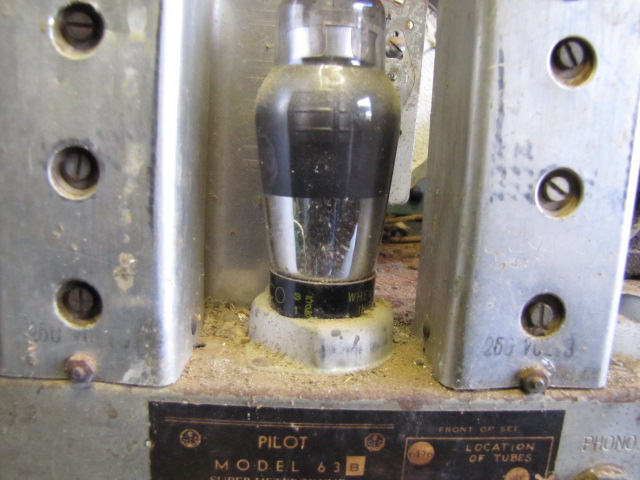
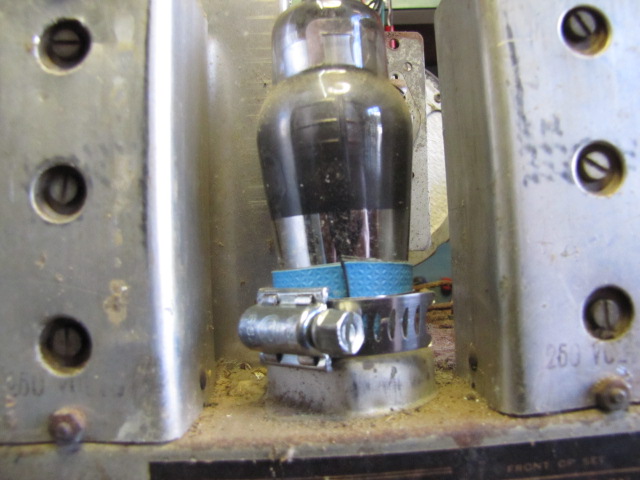
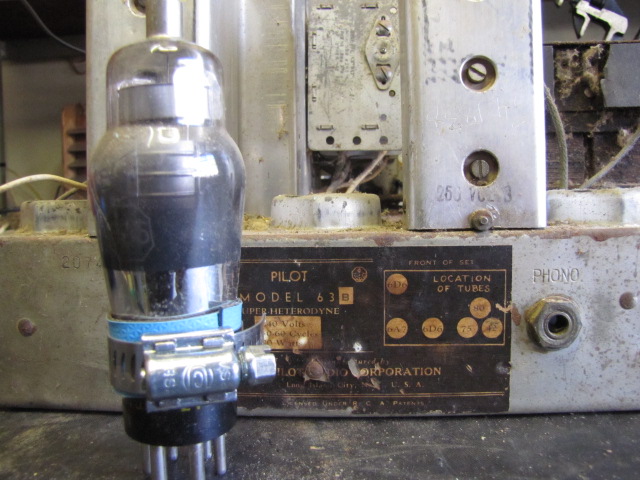
The most difficult part was to remove the valves from their bases. The valves are of the 6-pin U6A type. As can be seen, there are flanges around the valve holder which holds the the valve screening can. This flange covers a large portion of the vale base making it impossible to remove the valve just using your fingers. To make matters worse, all the glass envelopes of the valves were loose from their bases. Came up with a plan to use a hose clamp to remove the valves.
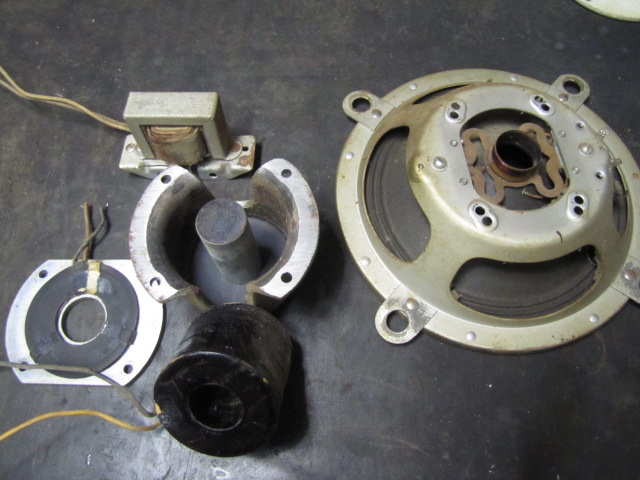
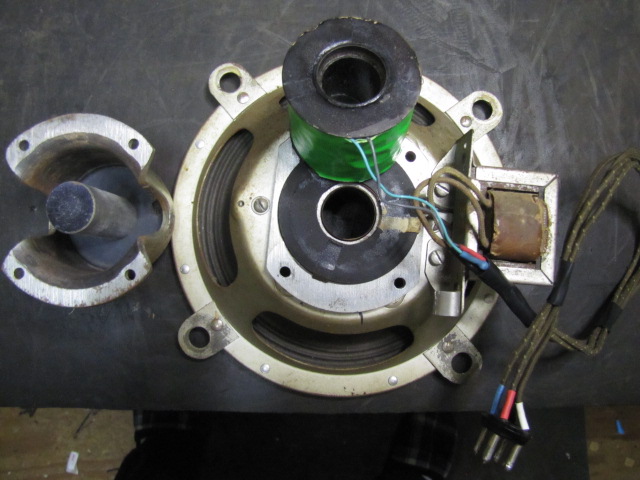
Another big problem was that the speaker field coil was open circuit. At first I thought I would have to replace with a permanent magnet speaker, but then decided to disassemble the speaker and check the field coil, not prepared to spend R1000-00 to have the coil rewound for a R400-00 radio. The radio Gods were with me!! After removing the insulation, managed to find where the coil had arced to earth and burned off and I could repair it. Images below show the field coil, black coil next to hum-bucking coil and after I repaired it.
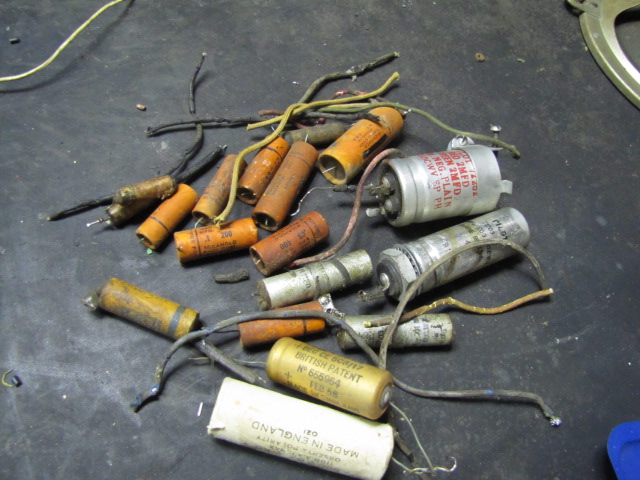
Finally replaced all wax capacitors and some wiring.
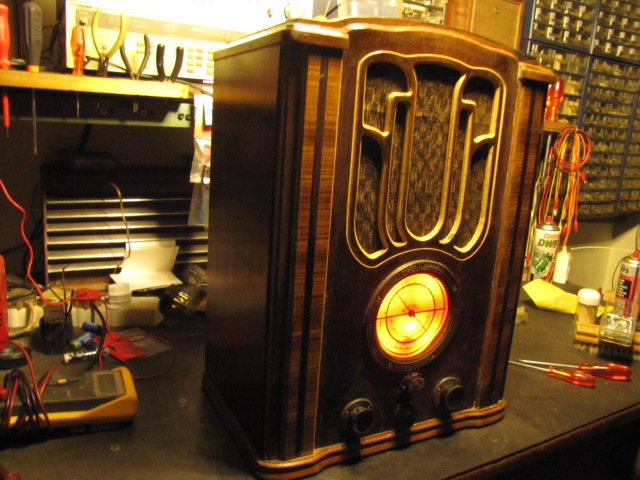
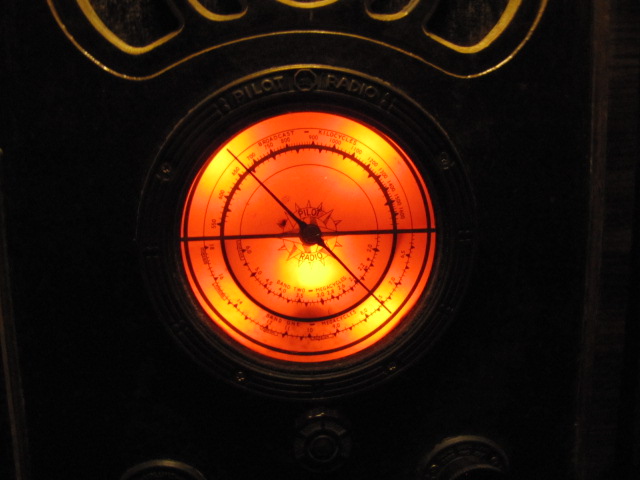
After replacing the valves and their screens, slowly applied mains via variac while monitoring HT and filament voltages. HT settled at 250V and the set burst into live, singing again after all those years! Tuned into LM Radio on 702kHz, no problem. Made a new baffle board and attached speaker with new grill cloth to complete.
https://vimeo.com/285704742
As can be seen it's been through the mill, the speaker baffle board and grill cloth was replaced at some time.

When I removed the chassis it can be seen that at some time it was also a mouse house!

The chassis was also badly corroded (mouse wee?) Under the chassis looked untouched, wiring for dial lights was brittle and had to be replaced .


The most difficult part was to remove the valves from their bases. The valves are of the 6-pin U6A type. As can be seen, there are flanges around the valve holder which holds the the valve screening can. This flange covers a large portion of the vale base making it impossible to remove the valve just using your fingers. To make matters worse, all the glass envelopes of the valves were loose from their bases. Came up with a plan to use a hose clamp to remove the valves.


Another big problem was that the speaker field coil was open circuit. At first I thought I would have to replace with a permanent magnet speaker, but then decided to disassemble the speaker and check the field coil, not prepared to spend R1000-00 to have the coil rewound for a R400-00 radio. The radio Gods were with me!! After removing the insulation, managed to find where the coil had arced to earth and burned off and I could repair it. Images below show the field coil, black coil next to hum-bucking coil and after I repaired it.


Finally replaced all wax capacitors and some wiring.


After replacing the valves and their screens, slowly applied mains via variac while monitoring HT and filament voltages. HT settled at 250V and the set burst into live, singing again after all those years! Tuned into LM Radio on 702kHz, no problem. Made a new baffle board and attached speaker with new grill cloth to complete.


https://vimeo.com/285704742


