Hello fellow forumites,
Together a friend of mine and I did an install in his car quite recently. We researched together and ordered all the various bits before going for it. He had a budget of around $500 and was looking for a HU, front stage, sub and amp which we managed to do very nicely indeed for the money.
So, first off, of course we did research, and lots of it! For the price point it was vitally important that we got good quality stuff, he's a musician and anything other then good quality would not have sufficed (Quality over quantity here) and in the end we settled for the following:
1. Clarion headunit - with USB / Ipod and bluetooth. A double din unit
2. Alpine SPS splits - He wanted something that we could leave in the car when he moves, so not too expensive and pretty good sounding
3. JL Audio Amp - The JX360, very good value for money. Decent output when bridging the 3/4 channel for the sub. Good filters etc.
4. Rockford P1 12 inch Sub - single voice coil @ 4ohms
5. And then the standard type of extra's required: cabling, speaker terminal, spacers, etc.
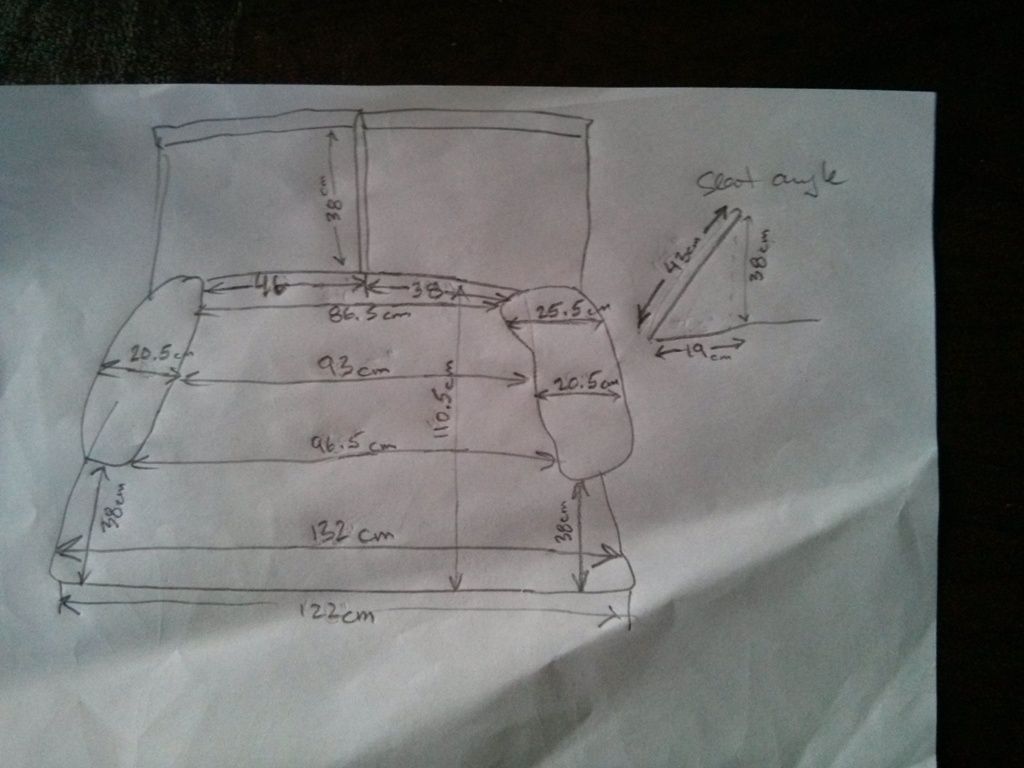
Of course, prior to all this we decided where to install the sub, the space it would need, where to put the amp, would a bigger front stage fit, etc. Here are some of the pics and drawings around that part:
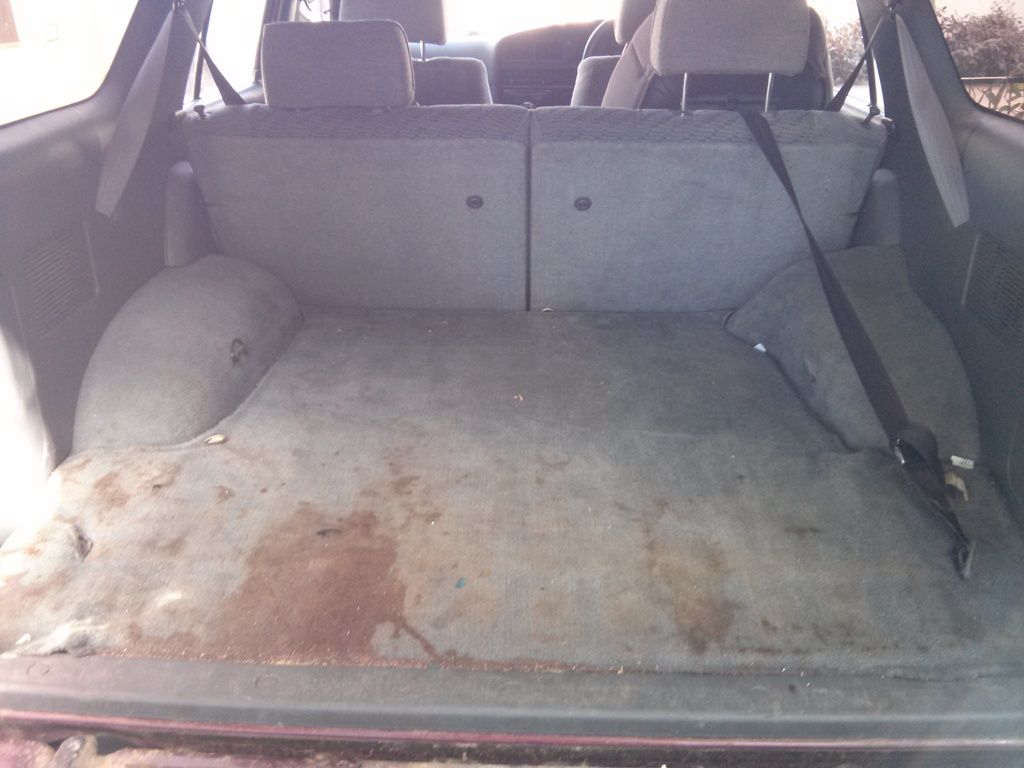
(ignore the red mess, that's from a leaking bucket of punch for a drunken weekend away)
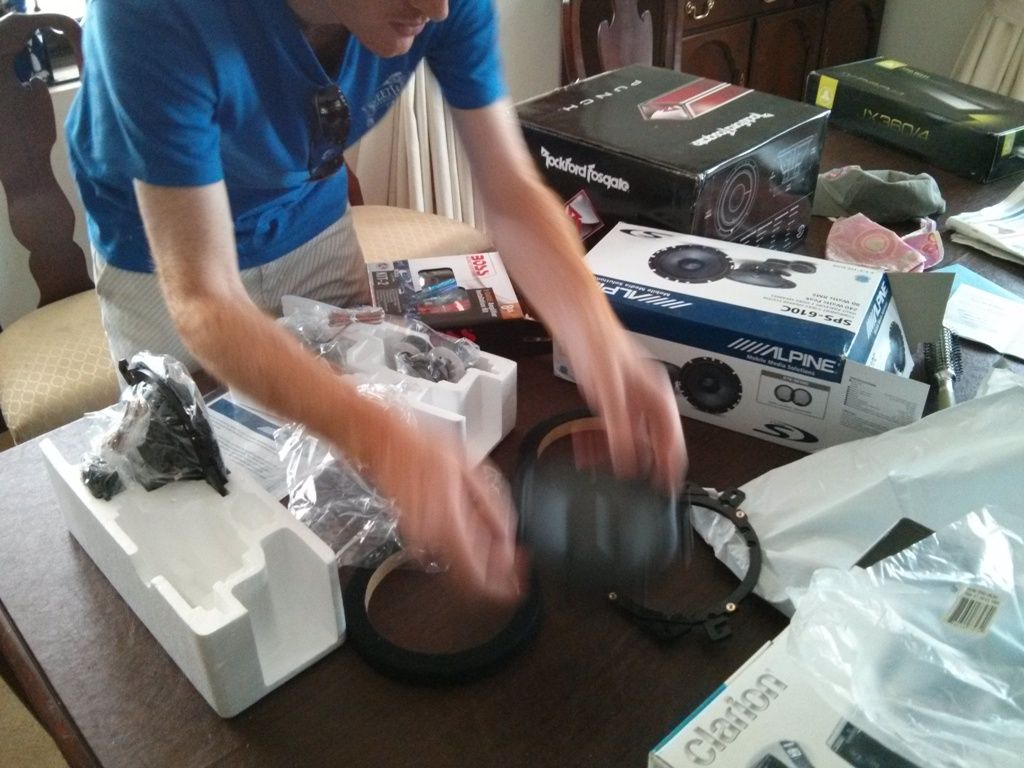
Playing with the toys:
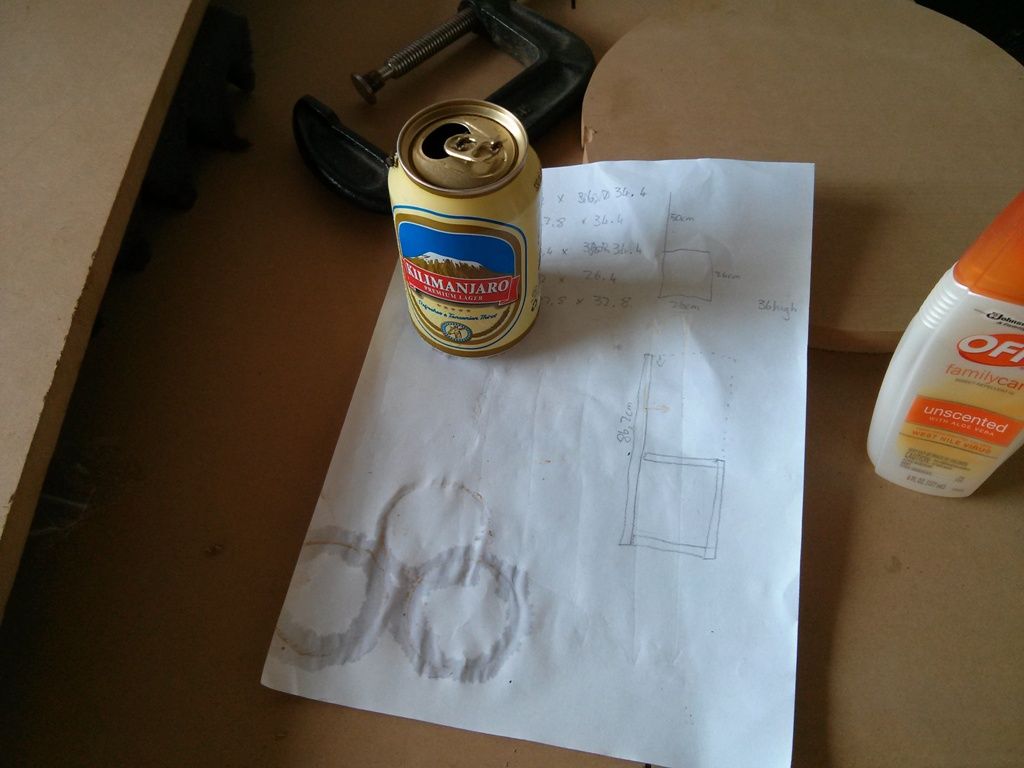
Of course, the obligatory liquid motivation was required:
So, first project was to install the headunit. His car is an older model Isuzu so lots more screws / bolts then newer cars which are primarily help together with plastic clips This was fairly seamless and we did this a few weekends prior, so on the big build day we didn?t have to fight with a new HU as well.
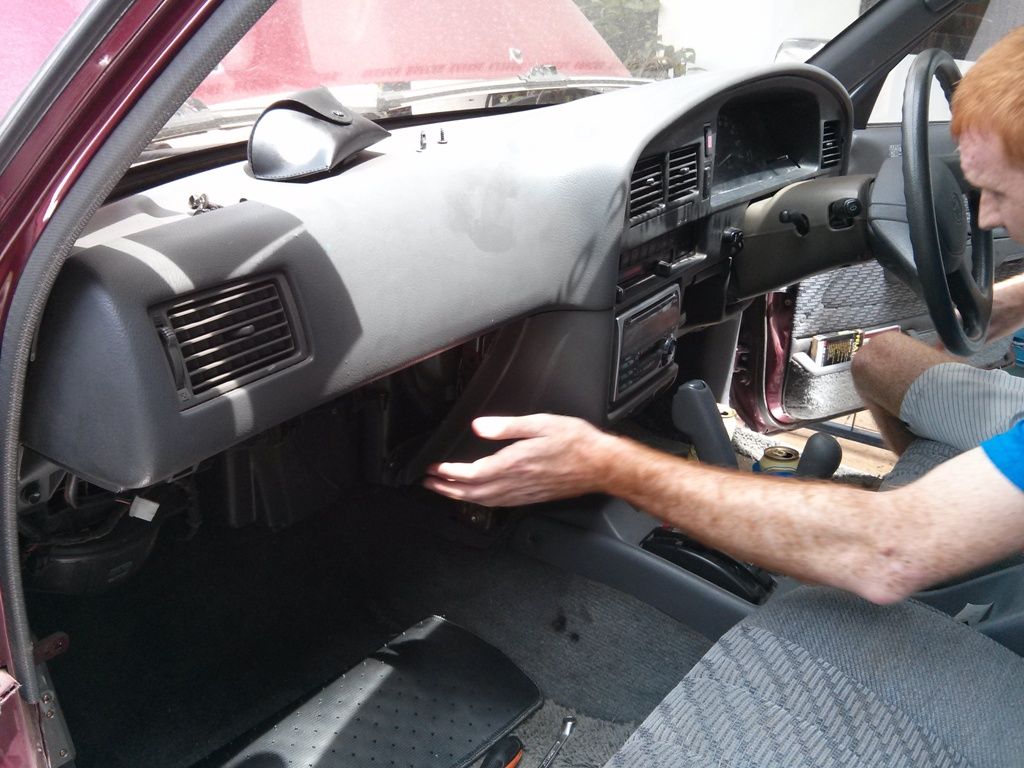
The old headunit still in, but not for long.
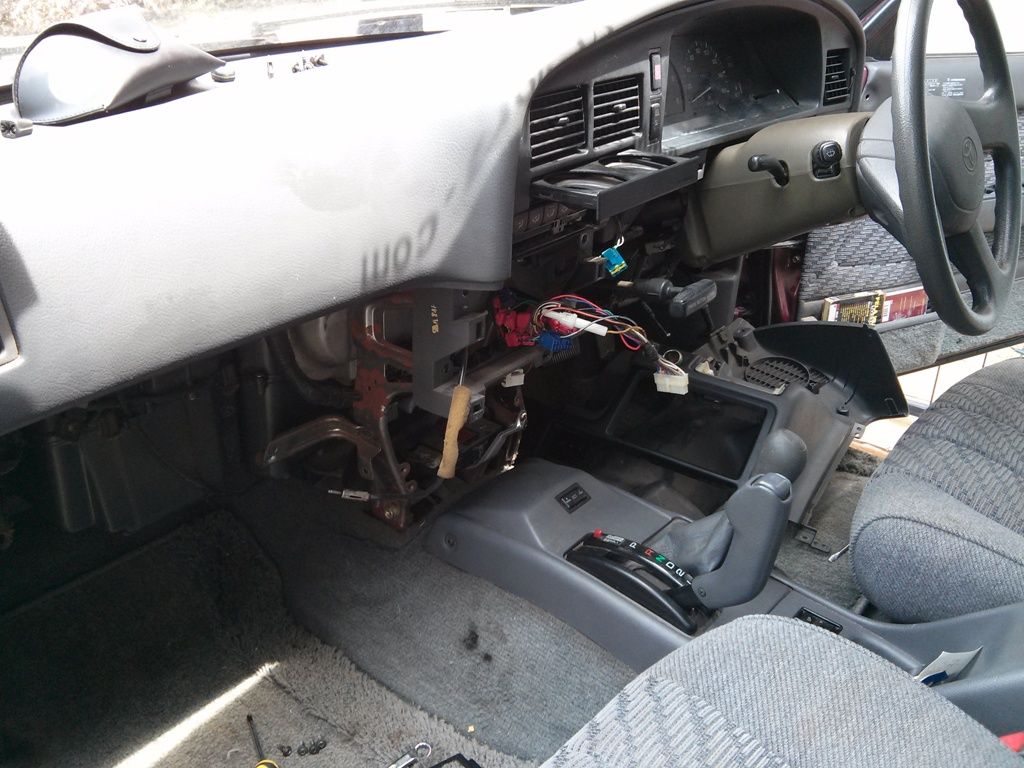
His car looking nekkid
Second, installing the speakers in the door. The standard panel only housed a tiny 4? speaker aimed at his feet. No space to get a decent speaker in there. So in the end we decided to cut the door card and mount the speaker directly in the door. We spaced it off the panel so as to not interfere with the window as it was fairly tight in there. The tweet we mounted straight above the speaker and positioned firing directly towards the driver as best possible.
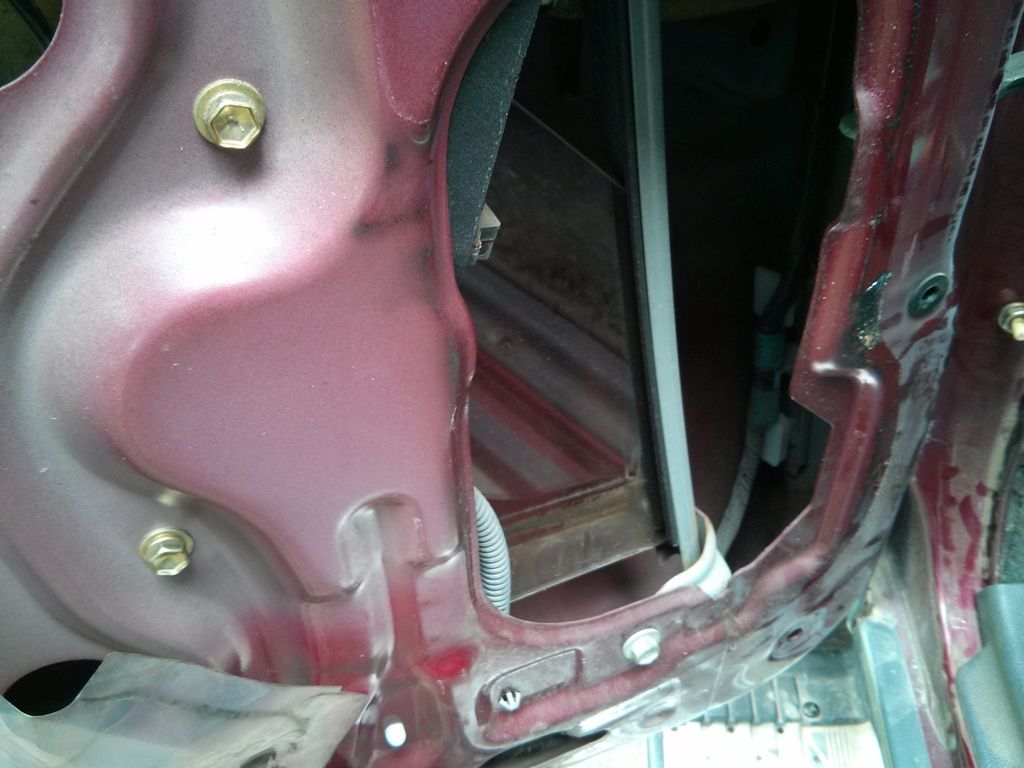
Sizing
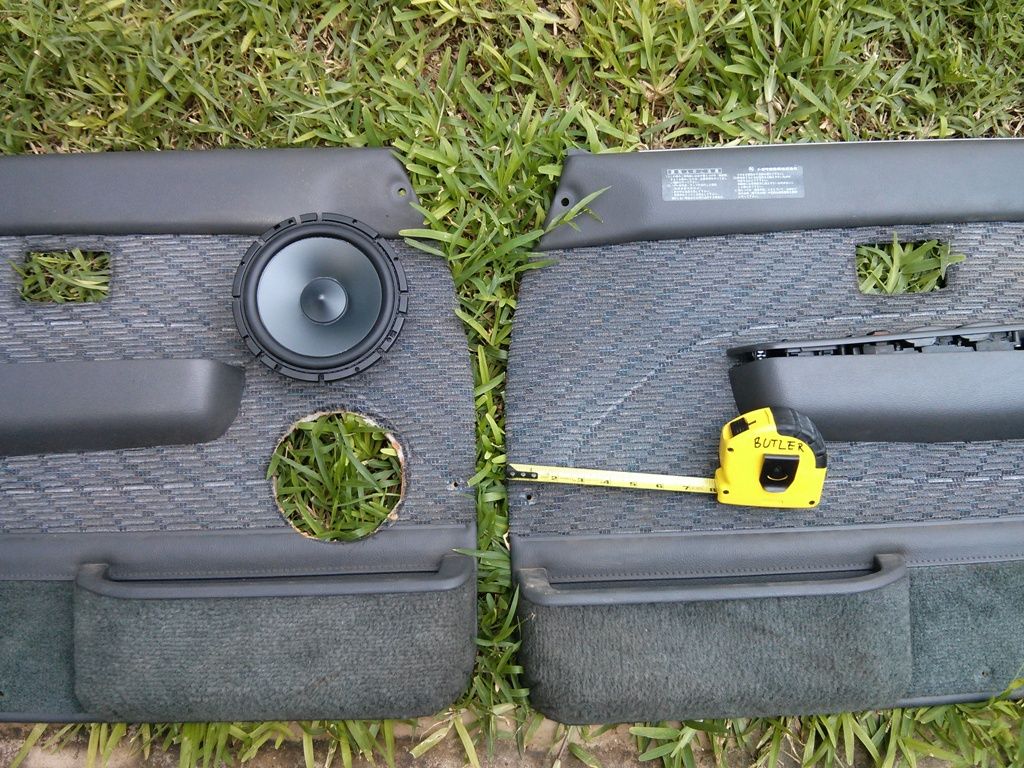
Positioning and cutting
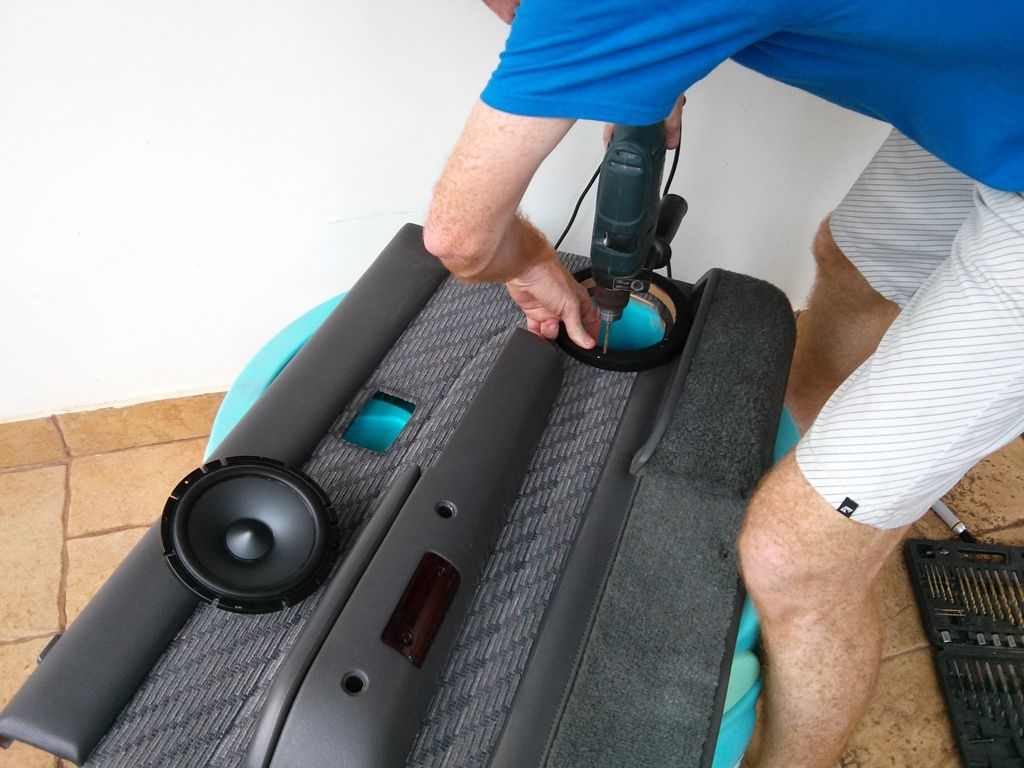
Installing the spacer
Then, of course, sub box building time. As we live in deepest darkest Africa there are no timber shitty?s or builders whorehouse here who pre-cut wood for you, so we cut it all ourselves with a circular saw. We would clamp a small fence onto the wood and run the saw along the fence, in the end it was very effective and probably a lot more accurate then what we could have done elsewhere here.
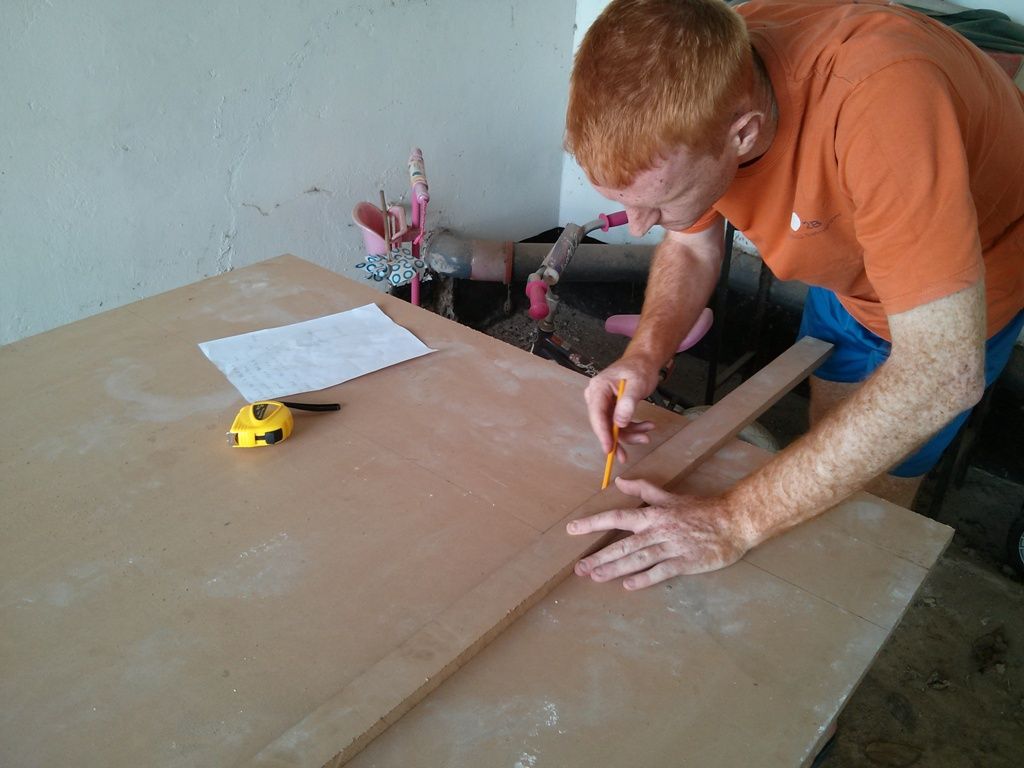
We then did some test fitting after the cutting to make 100% sure:
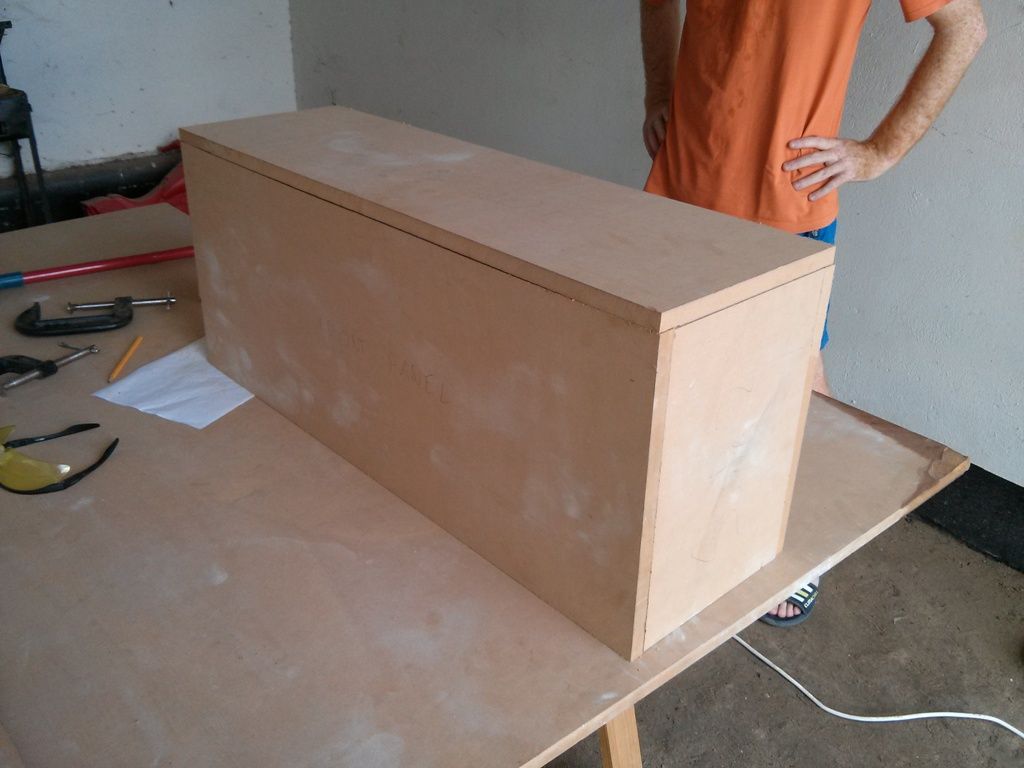
The side that will be seen from the inside of the trunk
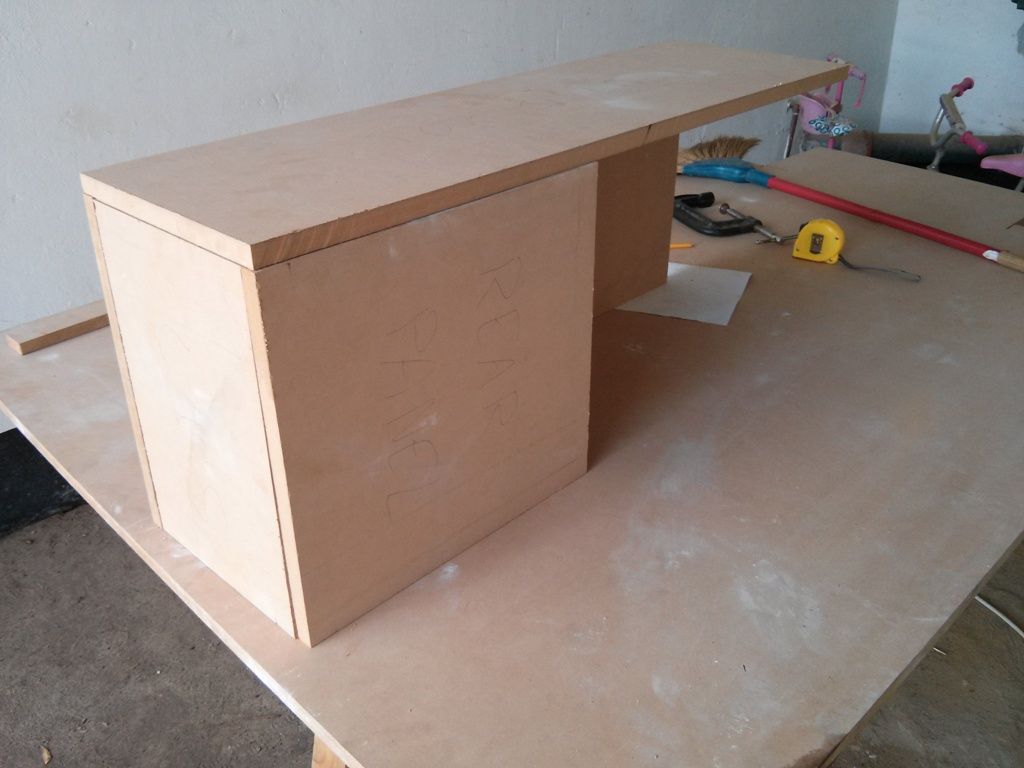
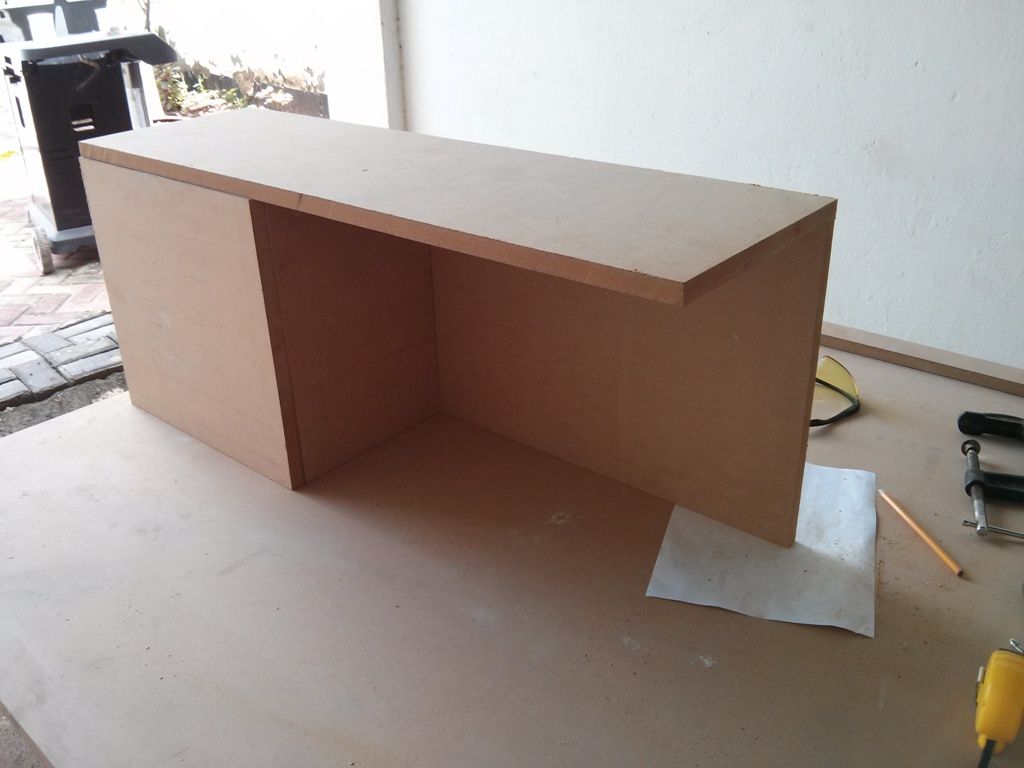
Where the amp will be housed
As you can see, the design looks strange above, that?s because the open space is because of the rising wheel well in the back, furthermore, as he has 2 kids and is frequently using the trunk for all sorts of purposes it was imperative that we kept the components hidden to avoid damaging them. So the amp will be placed on the underside / inside of the open area where there is lots of free air for cooling, as well as protection from things in the back as well as prying kiddie fingers.
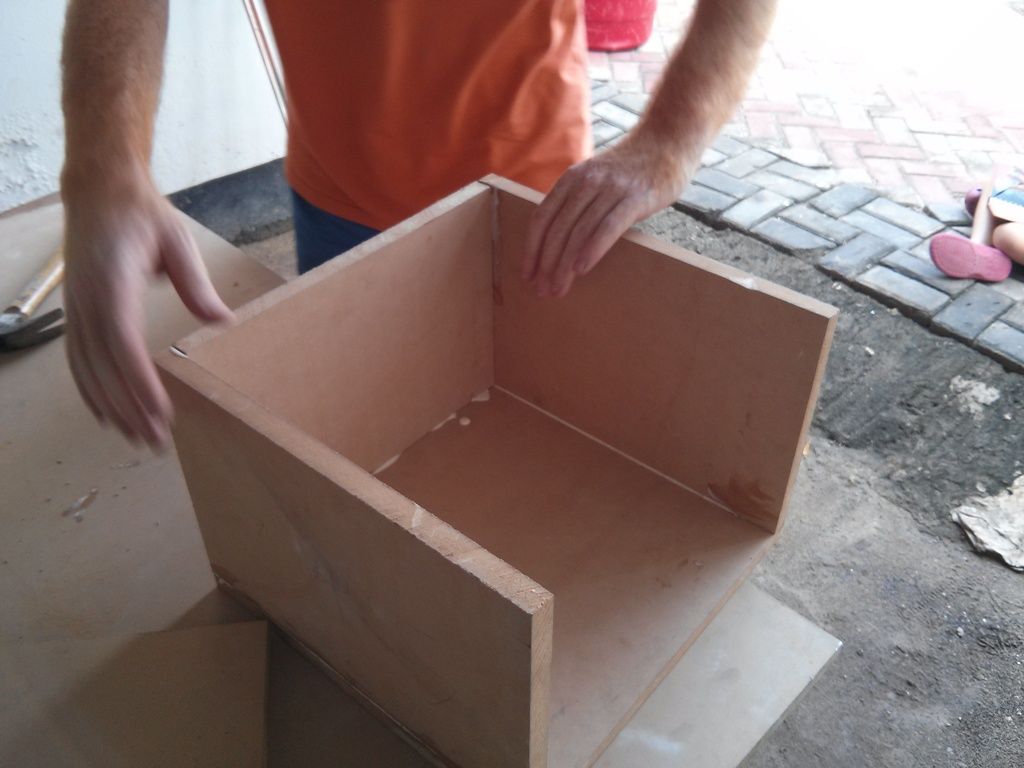
We of course then put it all together, we would glue, then clamp, then drill pilot holes and screw tight afterwards. This box is strong!
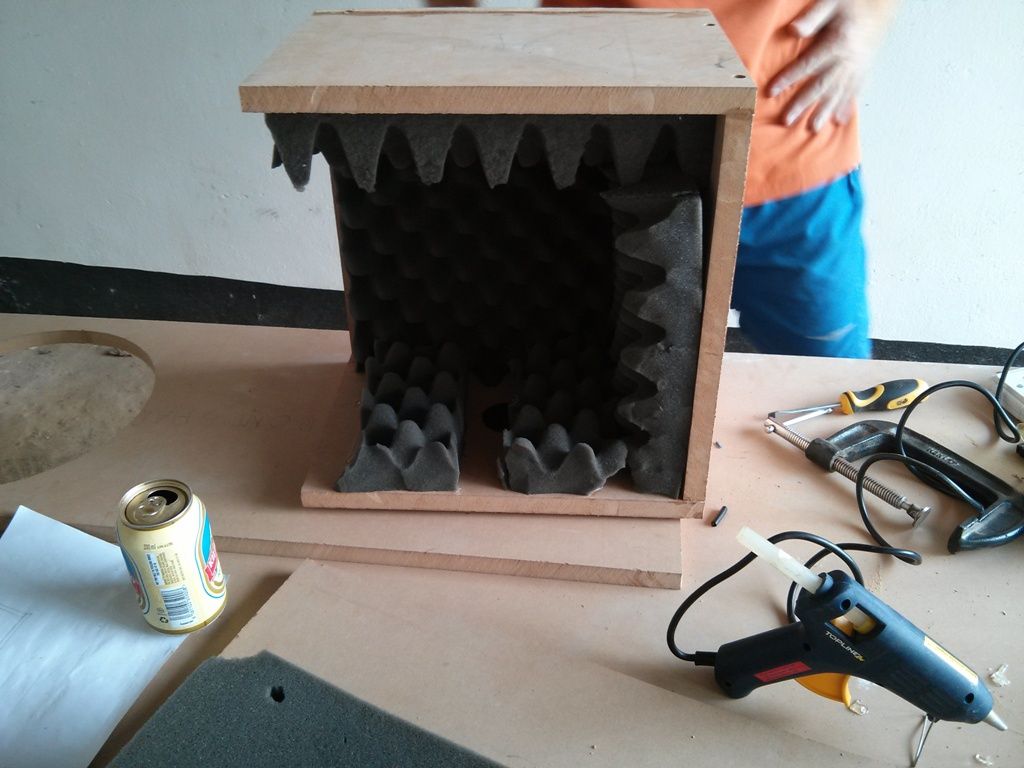
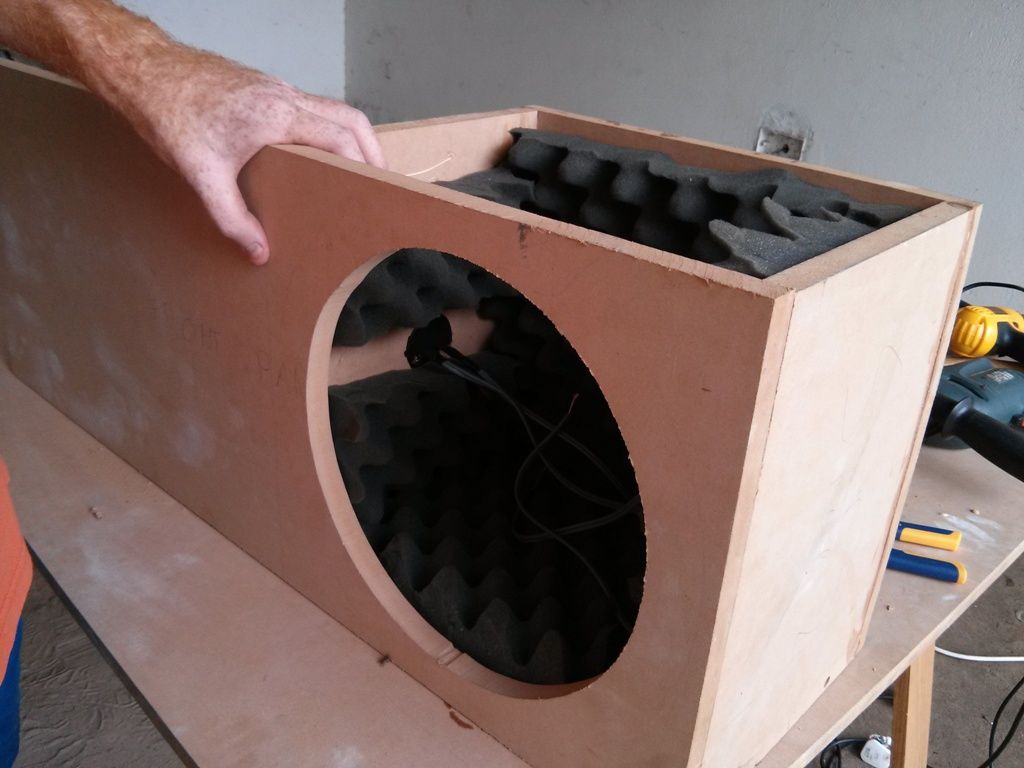

We put some spare acoustic foam inside the box that he had lying around from inside his studio. The stuff looks hectic but it?s not, it?s very light.
Lastly, we test fitted the components, connected everything up and then put in the car.
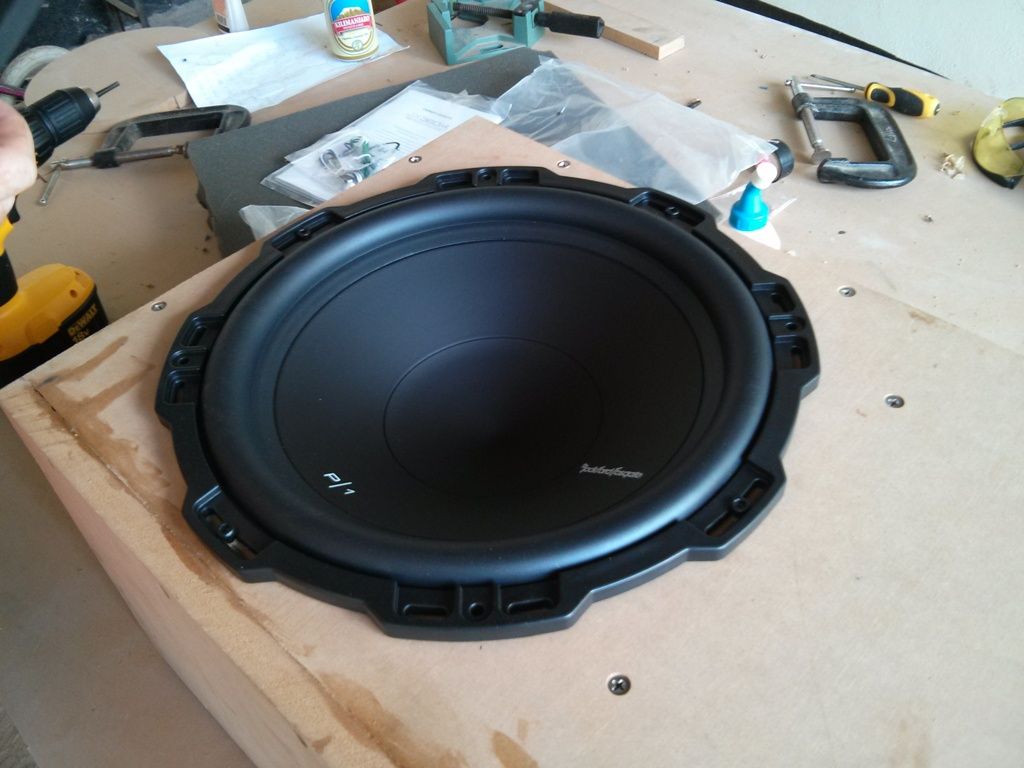
Sub
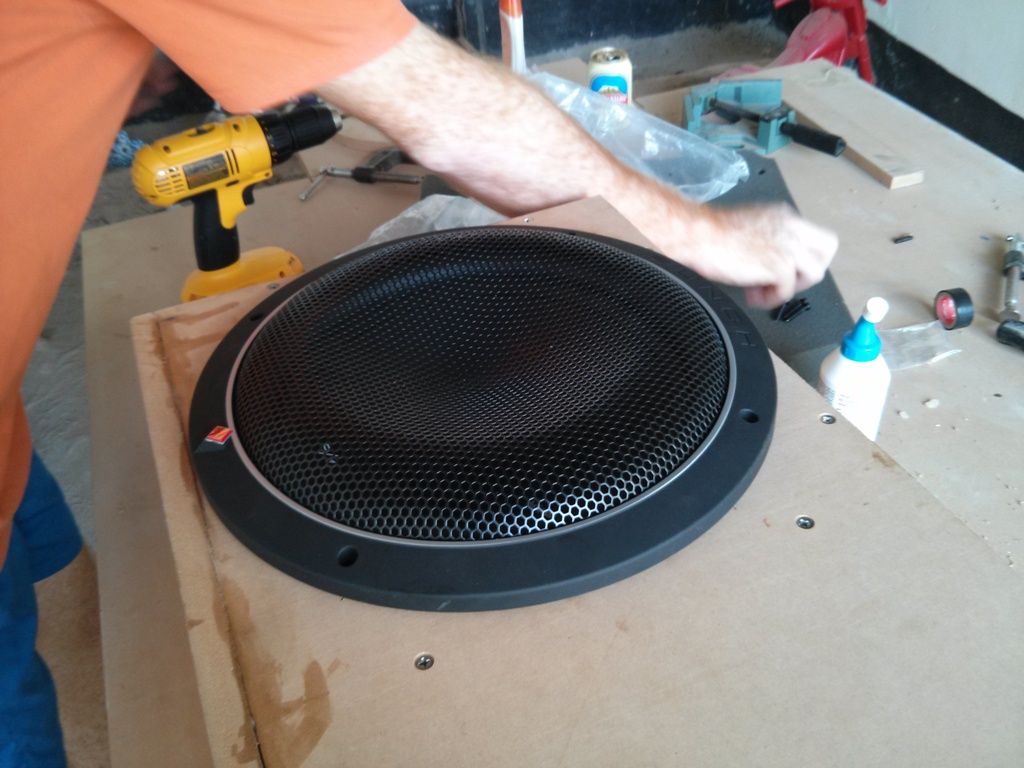
Sub with its grill

Unfortunately, I don?t have pics of the final product yet, we were too excited and forgot that part Once we snap a few more I will upload for all to see.
And that?s it?. A really nice fun project that?s not particularly complicated and will give him huge amounts of enjoyment!
Together a friend of mine and I did an install in his car quite recently. We researched together and ordered all the various bits before going for it. He had a budget of around $500 and was looking for a HU, front stage, sub and amp which we managed to do very nicely indeed for the money.
So, first off, of course we did research, and lots of it! For the price point it was vitally important that we got good quality stuff, he's a musician and anything other then good quality would not have sufficed (Quality over quantity here) and in the end we settled for the following:
1. Clarion headunit - with USB / Ipod and bluetooth. A double din unit
2. Alpine SPS splits - He wanted something that we could leave in the car when he moves, so not too expensive and pretty good sounding
3. JL Audio Amp - The JX360, very good value for money. Decent output when bridging the 3/4 channel for the sub. Good filters etc.
4. Rockford P1 12 inch Sub - single voice coil @ 4ohms
5. And then the standard type of extra's required: cabling, speaker terminal, spacers, etc.
Of course, prior to all this we decided where to install the sub, the space it would need, where to put the amp, would a bigger front stage fit, etc. Here are some of the pics and drawings around that part:

(ignore the red mess, that's from a leaking bucket of punch for a drunken weekend away)

Playing with the toys:

Of course, the obligatory liquid motivation was required:

So, first project was to install the headunit. His car is an older model Isuzu so lots more screws / bolts then newer cars which are primarily help together with plastic clips

The old headunit still in, but not for long.

His car looking nekkid
Second, installing the speakers in the door. The standard panel only housed a tiny 4? speaker aimed at his feet. No space to get a decent speaker in there. So in the end we decided to cut the door card and mount the speaker directly in the door. We spaced it off the panel so as to not interfere with the window as it was fairly tight in there. The tweet we mounted straight above the speaker and positioned firing directly towards the driver as best possible.

Sizing

Positioning and cutting

Installing the spacer
Then, of course, sub box building time. As we live in deepest darkest Africa there are no timber shitty?s or builders whorehouse here who pre-cut wood for you, so we cut it all ourselves with a circular saw. We would clamp a small fence onto the wood and run the saw along the fence, in the end it was very effective and probably a lot more accurate then what we could have done elsewhere here.

We then did some test fitting after the cutting to make 100% sure:

The side that will be seen from the inside of the trunk


Where the amp will be housed
As you can see, the design looks strange above, that?s because the open space is because of the rising wheel well in the back, furthermore, as he has 2 kids and is frequently using the trunk for all sorts of purposes it was imperative that we kept the components hidden to avoid damaging them. So the amp will be placed on the underside / inside of the open area where there is lots of free air for cooling, as well as protection from things in the back as well as prying kiddie fingers.
We of course then put it all together, we would glue, then clamp, then drill pilot holes and screw tight afterwards. This box is strong!


We put some spare acoustic foam inside the box that he had lying around from inside his studio. The stuff looks hectic but it?s not, it?s very light.
Lastly, we test fitted the components, connected everything up and then put in the car.

Sub

Sub with its grill

Unfortunately, I don?t have pics of the final product yet, we were too excited and forgot that part
And that?s it?. A really nice fun project that?s not particularly complicated and will give him huge amounts of enjoyment!
