Looking at all the wonderful DIY building projects on the forum, my hands started to itch - what about rebuilding a speaker vent in a lighter color and making something special out of it..
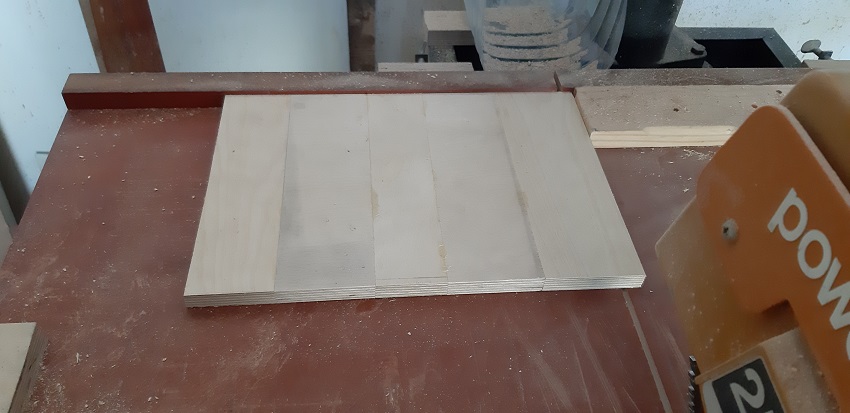
Step 1. Glue -off-cuts
Glue some off-cuts together so that they can be safely cut with a radial saw. Not all shown.
Ensure wood grain is in the same direction.
Step 2. Cutting strips
Original panel on the left- despite sanding it down the varnish residue remains embedded in the wood and is to dark for my liking.
All strips with dark spots or blotches have been removed and will be repurposed later.
Cutting the strips possibly converted a third of the panel to sawdust. Despite the best efforts it seeps in everywhere.
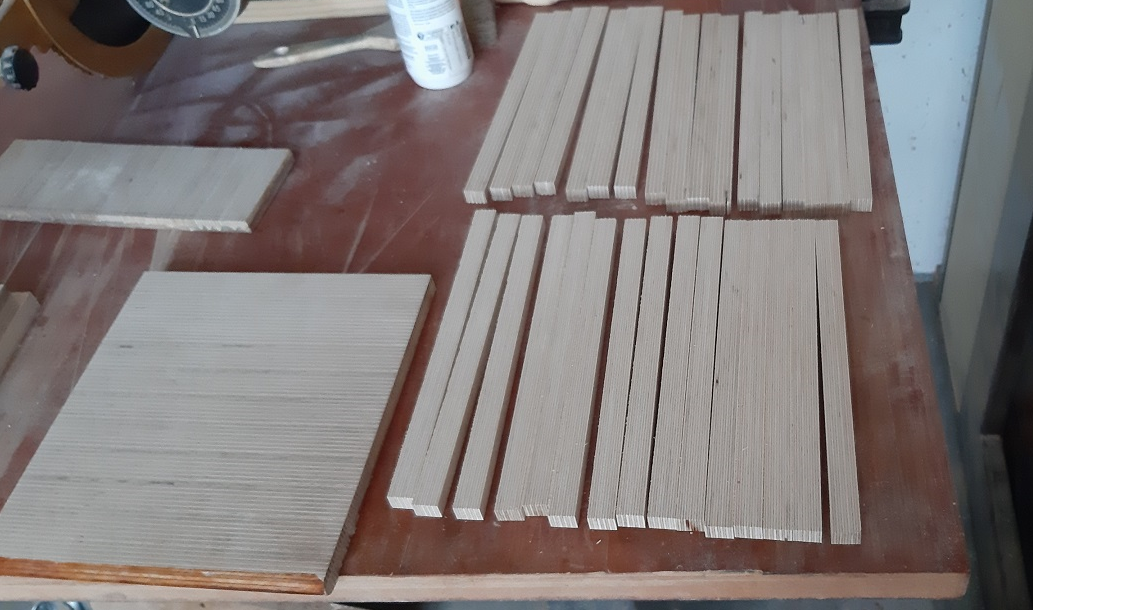
It helps having a good blade.
Step 3 Glue
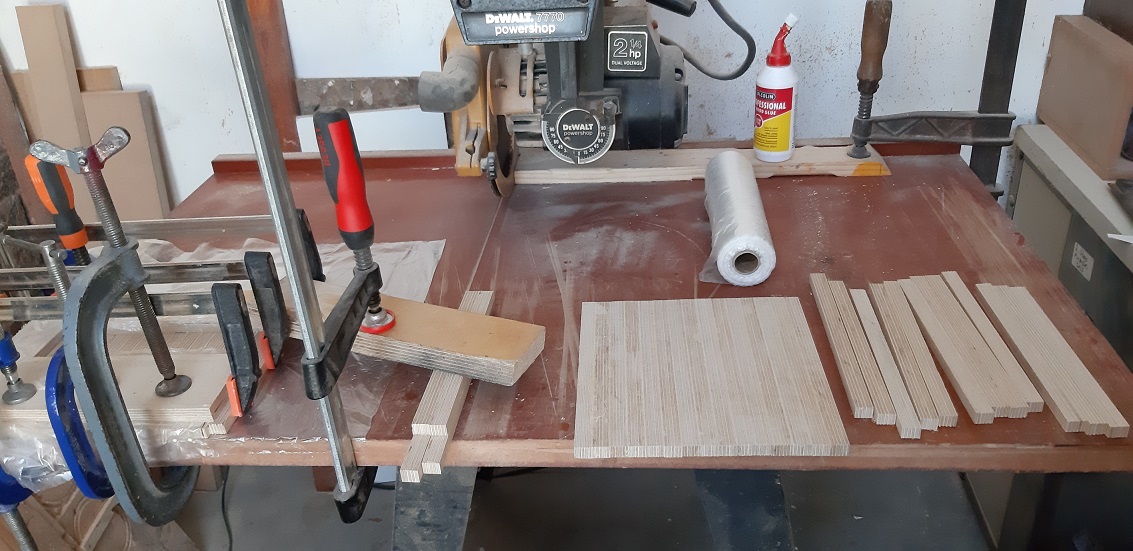
Note the glue used- excellent sanding properties and nearly invisible when painted over.
You can NEVER have enough clamps.
Tedious process- eight panels to clamp.
Note the plastic used- the wood glue does not stick to it and it is very handy to prevent clamping blocks from getting stuck to the item being glued.
Step 4. First impressions after sanding.
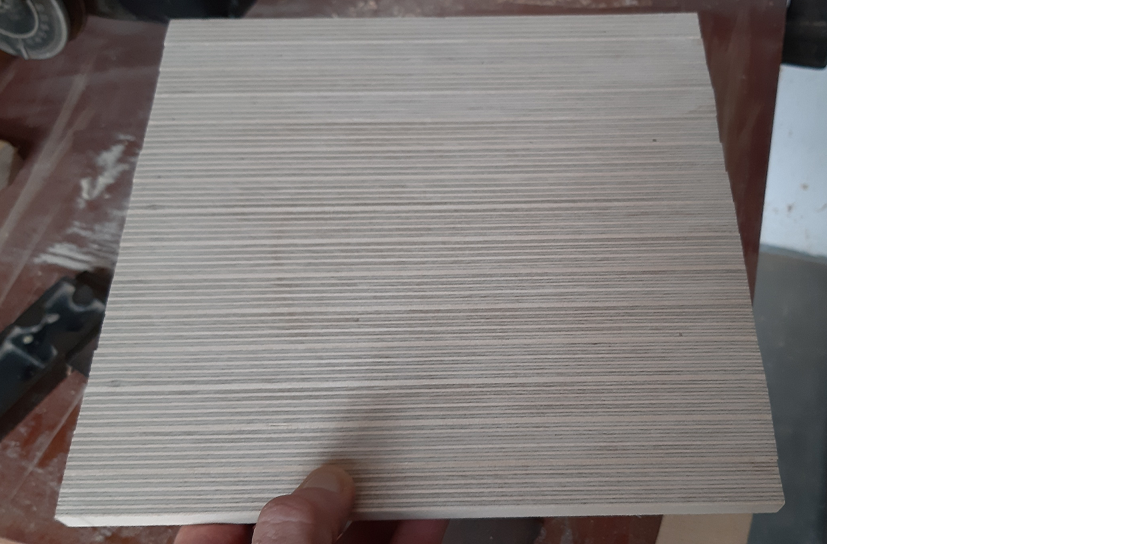
Each panel's strips were color matched in order not to have radically different strips next to another.
Despite using an orbital sander it was a tedious process. I build a frame to hold the panels in position whilst being sanded. Needless to say it was a dirty job.
Step 5 - Taking shape
Adding some Beech edging - not only for looks but also to prevent warping.
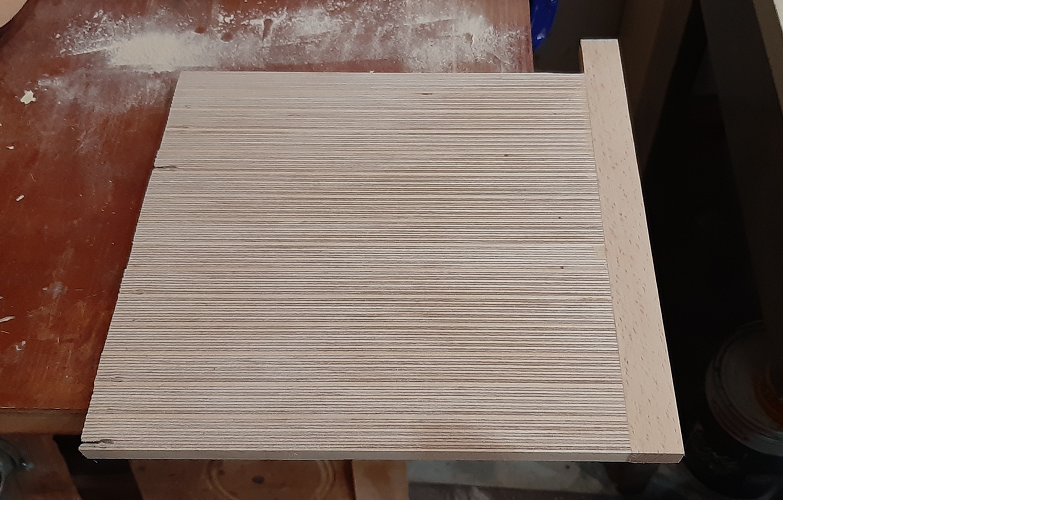
I did consider using Red Beech for contrast but eventually decided against it as normal Beech will blend in better with the color of the Baltic Birch I used.
Step 6- To be continued ..
Step 1. Glue -off-cuts
Glue some off-cuts together so that they can be safely cut with a radial saw. Not all shown.
Ensure wood grain is in the same direction.

Step 2. Cutting strips
Original panel on the left- despite sanding it down the varnish residue remains embedded in the wood and is to dark for my liking.
All strips with dark spots or blotches have been removed and will be repurposed later.
Cutting the strips possibly converted a third of the panel to sawdust. Despite the best efforts it seeps in everywhere.

It helps having a good blade.
Step 3 Glue
Note the glue used- excellent sanding properties and nearly invisible when painted over.
You can NEVER have enough clamps.
Tedious process- eight panels to clamp.
Note the plastic used- the wood glue does not stick to it and it is very handy to prevent clamping blocks from getting stuck to the item being glued.

Step 4. First impressions after sanding.
Each panel's strips were color matched in order not to have radically different strips next to another.
Despite using an orbital sander it was a tedious process. I build a frame to hold the panels in position whilst being sanded. Needless to say it was a dirty job.

Step 5 - Taking shape
Adding some Beech edging - not only for looks but also to prevent warping.

I did consider using Red Beech for contrast but eventually decided against it as normal Beech will blend in better with the color of the Baltic Birch I used.
Step 6- To be continued ..
