So I have been quiet o the DIY side for a while as life has just been crazy and not only that ive gone down the turn table and vinyl rabbit hole and loving it???.( Some DIY here in the near future ).
I decided a while ago to tackle another valve amp build. So I set out to find a EL84 circuit and found the Mullard 5-10. Asked a few friends about this circuit and its been tried and tested apparently.
Off to RS Online and filled my cart with all the needed parts.
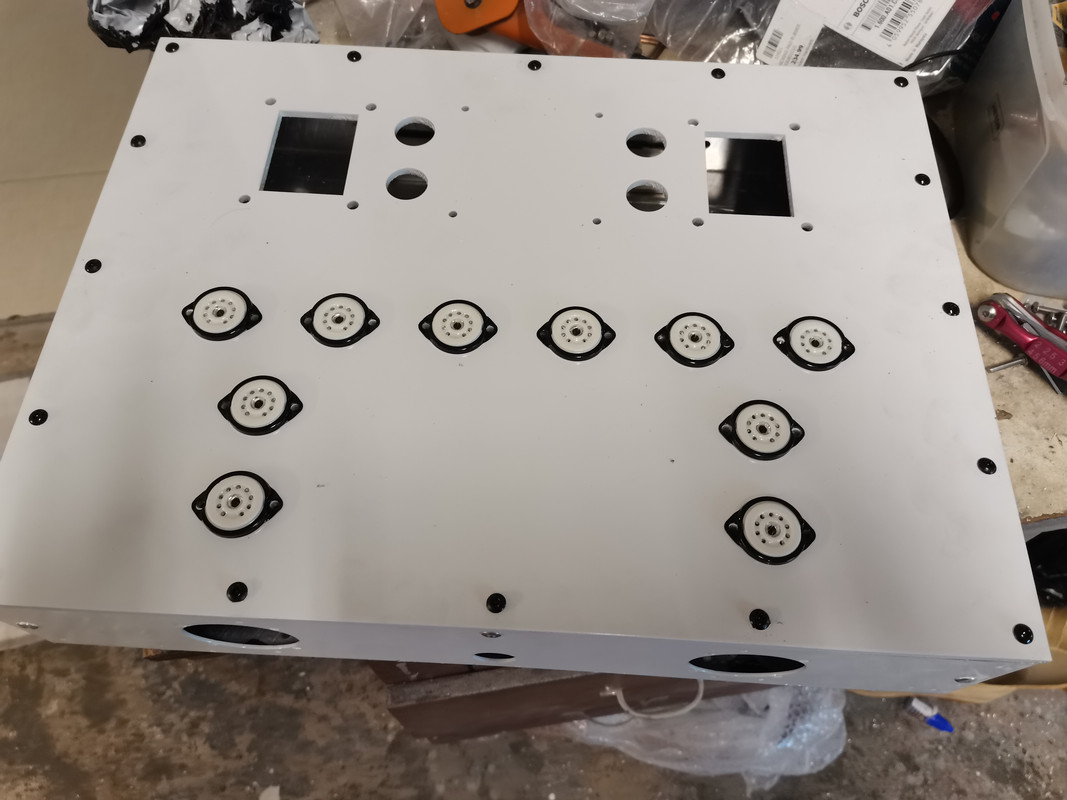
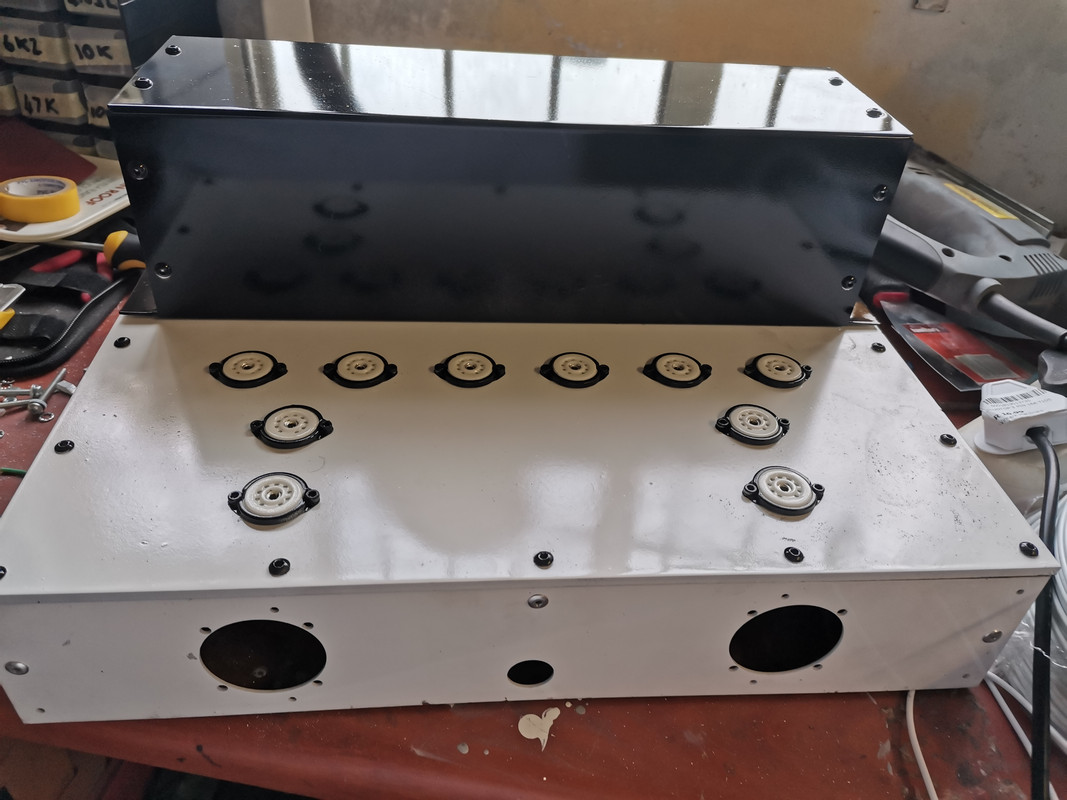
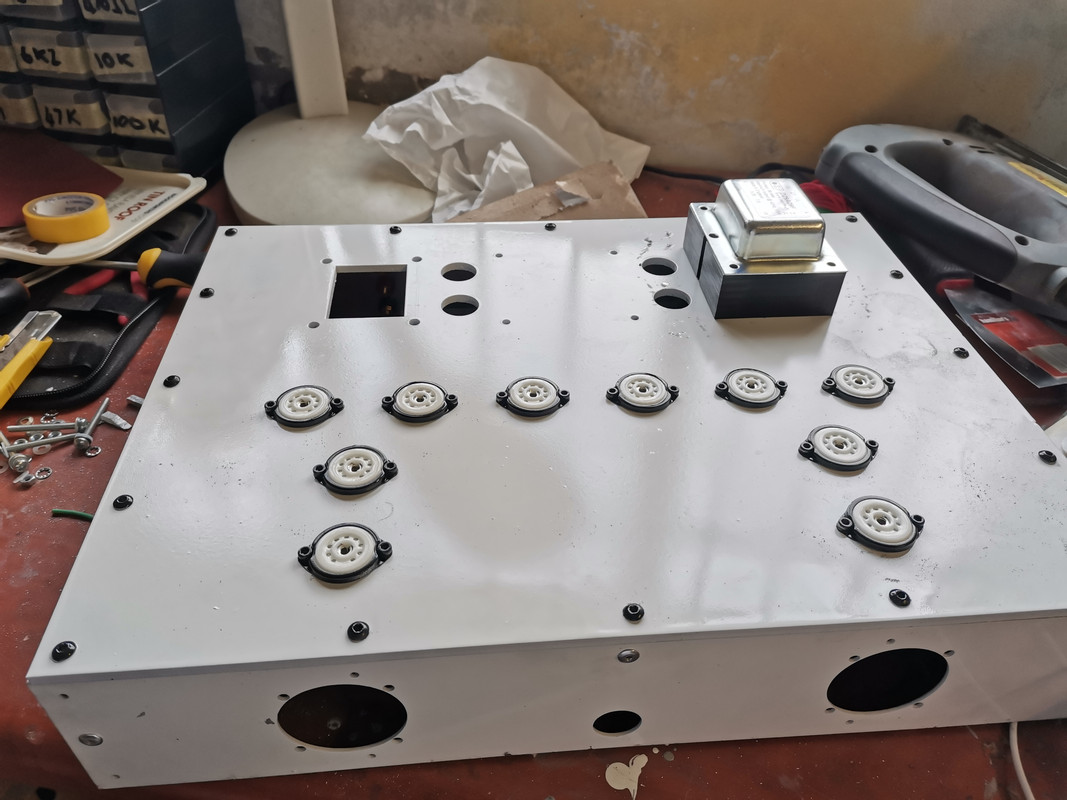
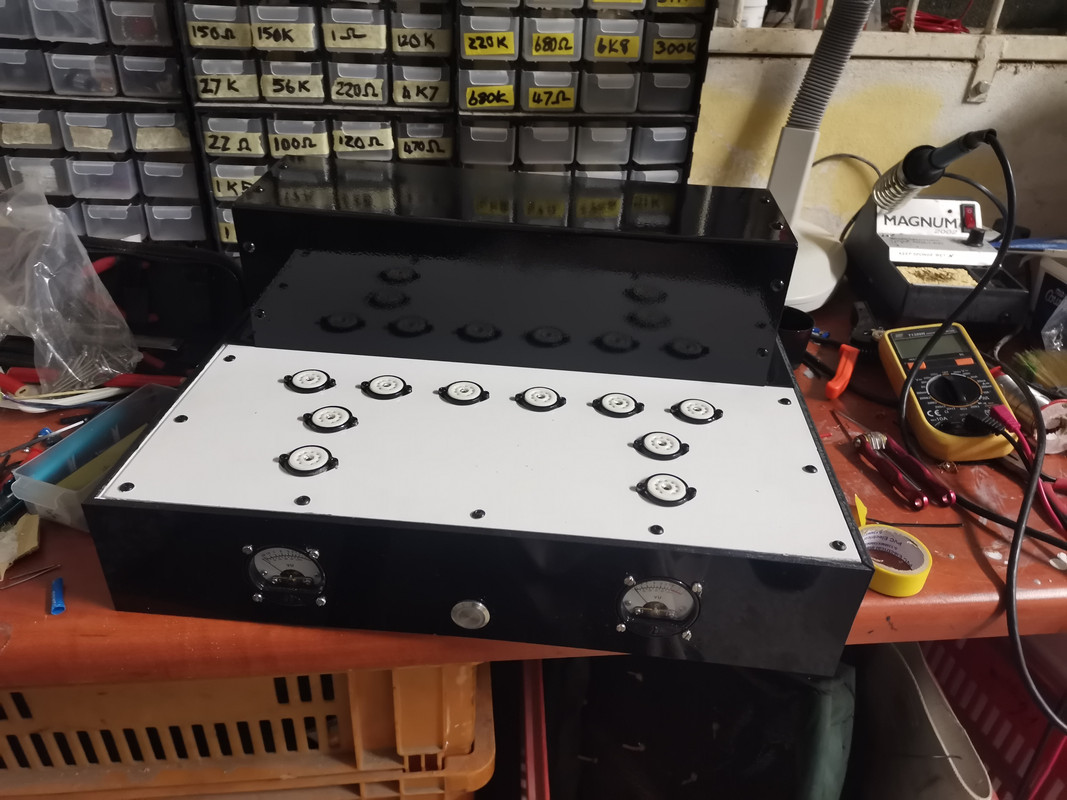
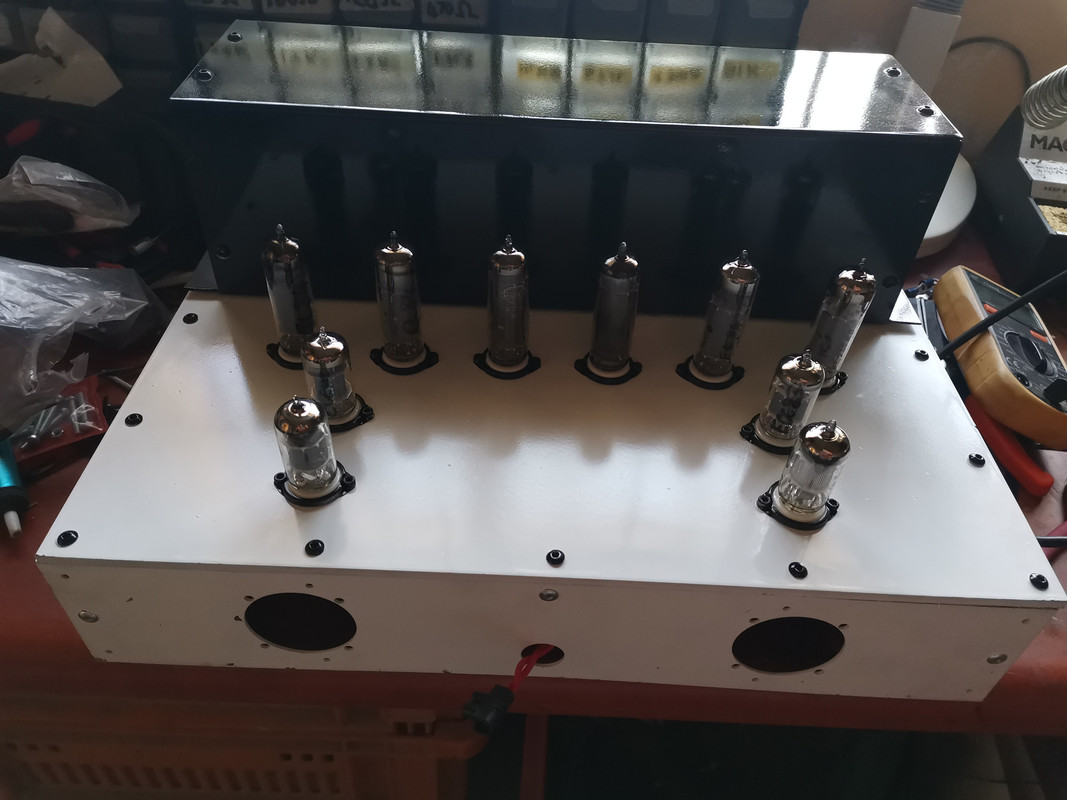
Then I had to decide on a chassis design. I went with a modular setup with assembling panels as the only company here in East London does not bend chassis so well. This was a hell of a challenge, but I got it right.
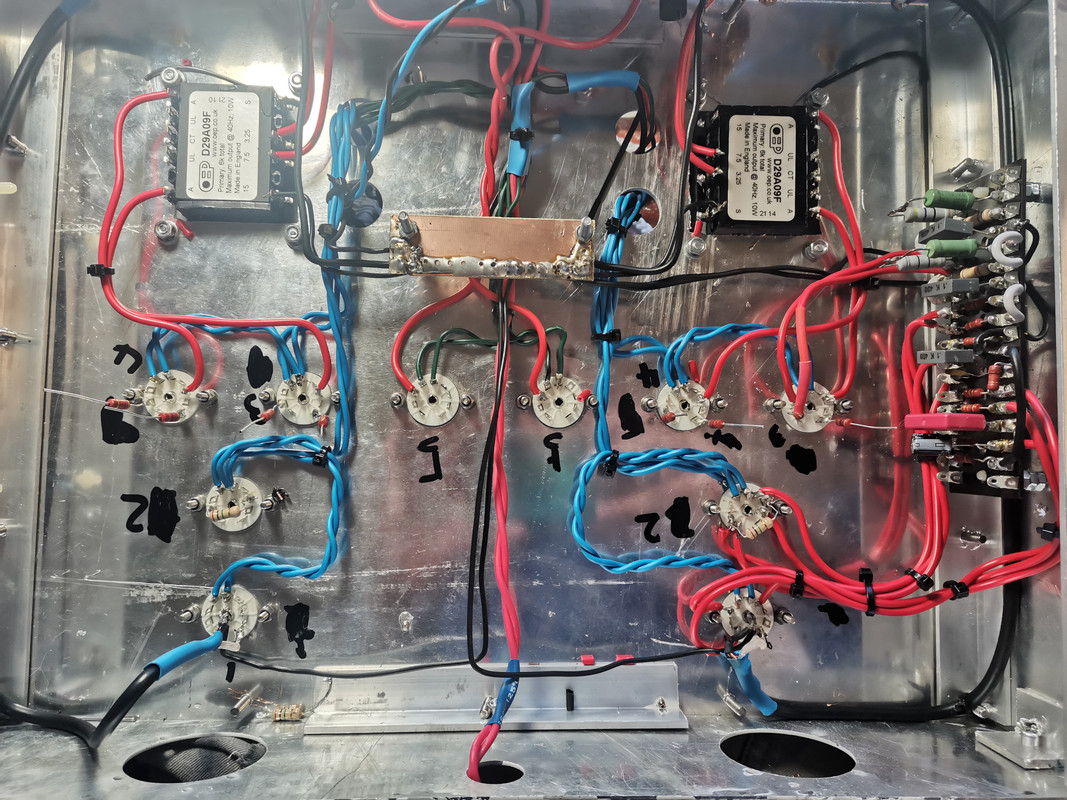
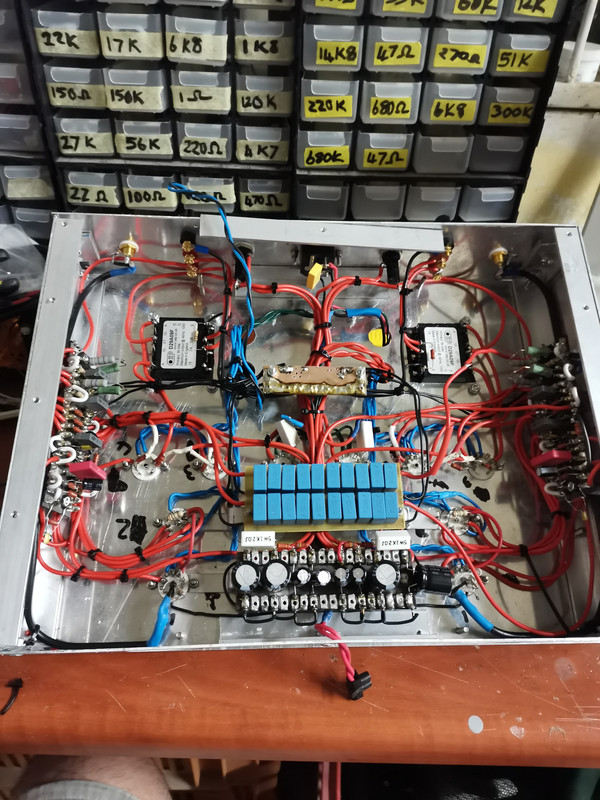
I then started the soldering and wiring. This being my first solo build (99% at least) was challenge for me.
It took me an age to do this, and I did battle a bit but slow and steady wins the race I guess.
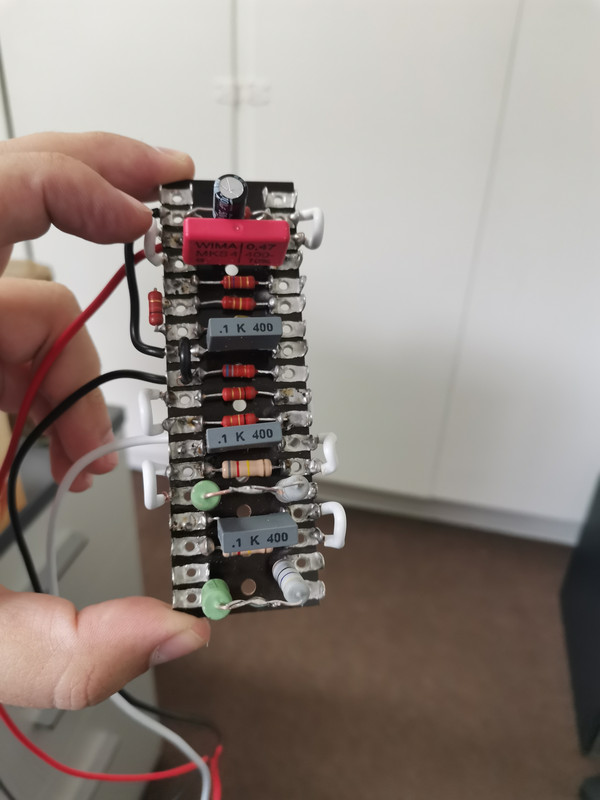
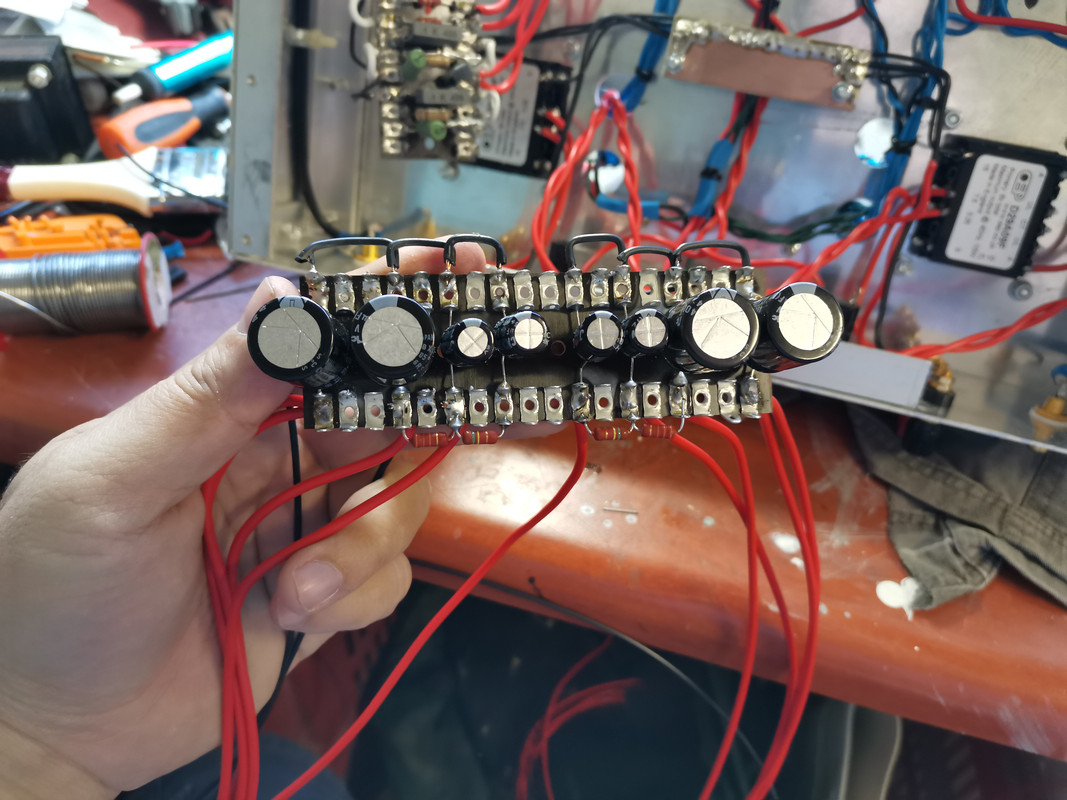
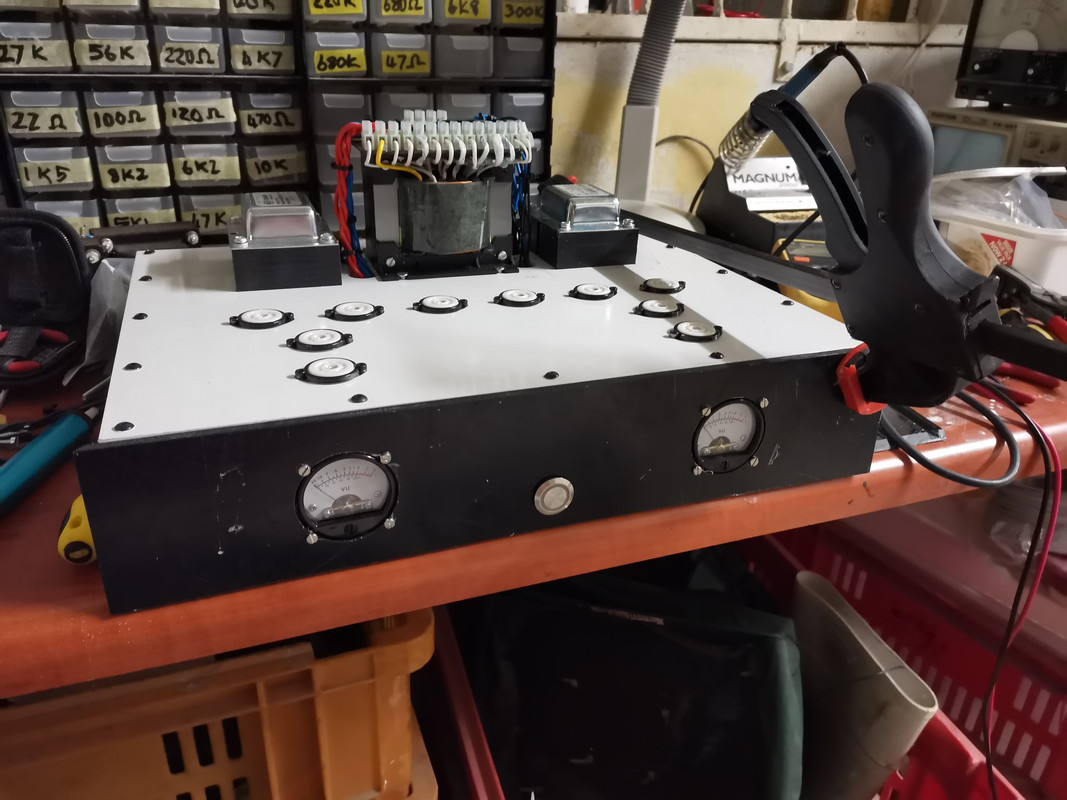
A friend of mine recommended an upgrade instead of using the 50uf electrolytic that the diagram and documentation recommends I should change it to poly caps. Hence the bank of poly caps in the pics
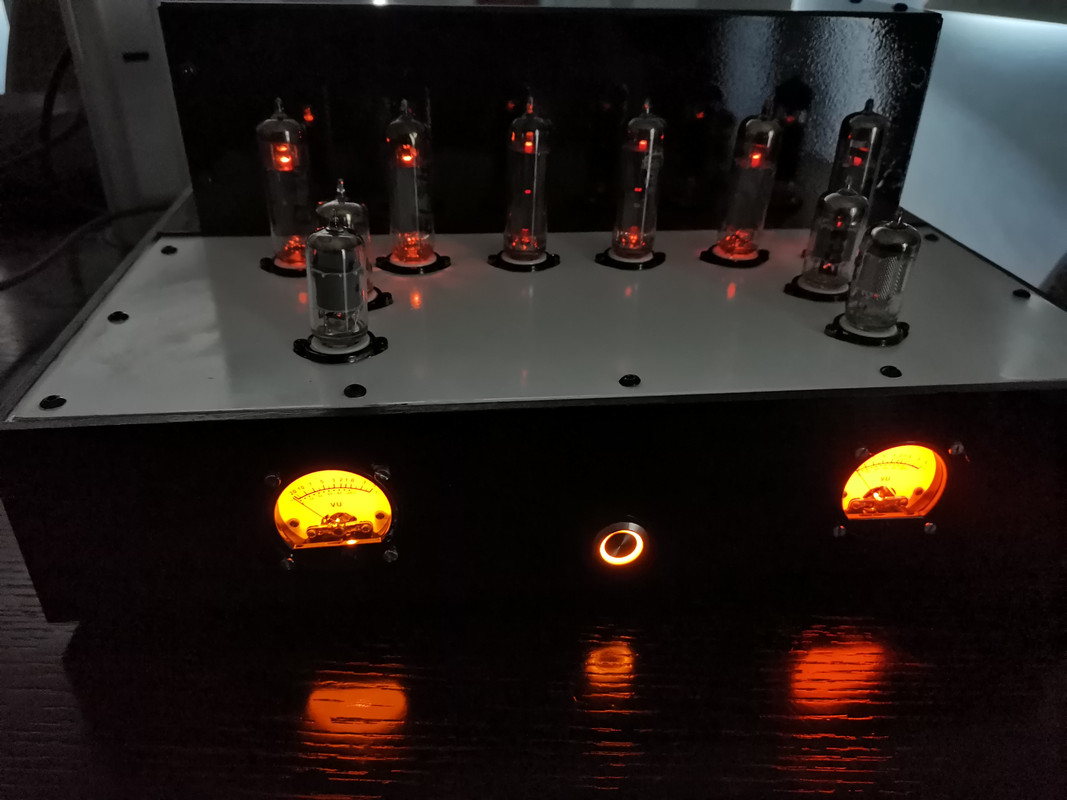
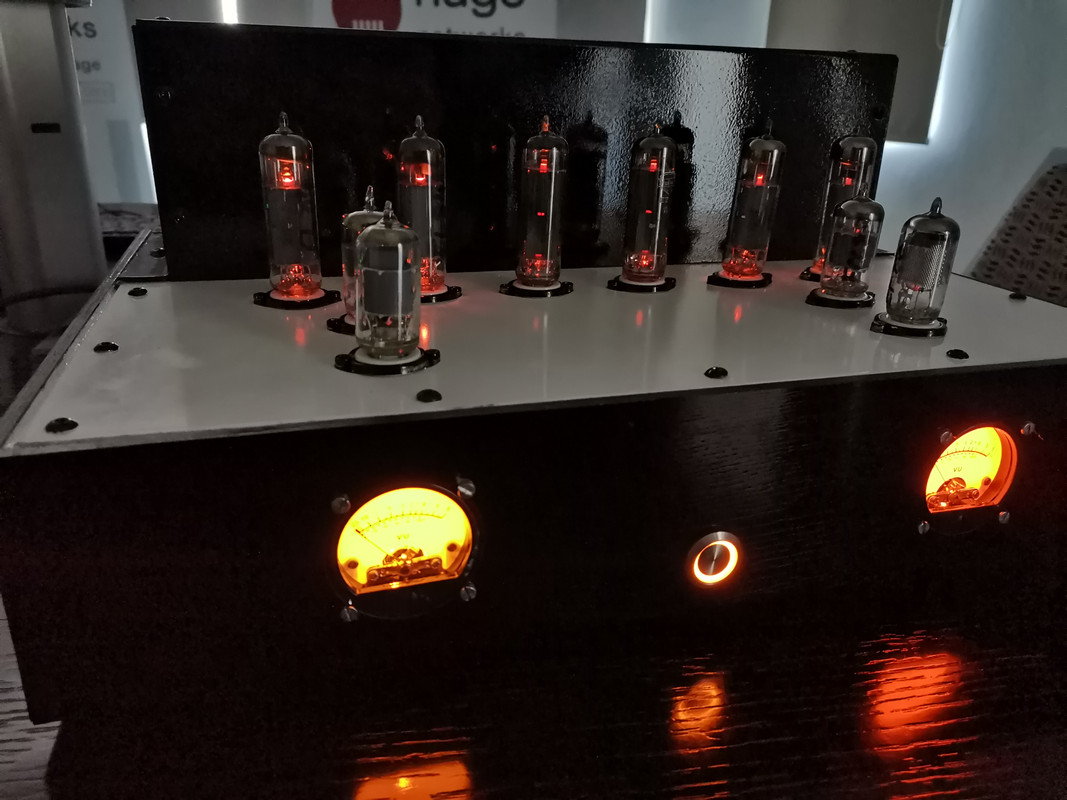
Next was the VU meters.
I thought about how I was going to do this and im going to change it. I realized that the meters would never be accurate, and they are more for my own visual pleasure. I put a 1Khz sine wave into the amp and turned it up just until it I saw the wave flattening and then I turned the meters to max.
Im gonna change this to 100Hz as turn it up to make it a bit more sensitive.
When I fired the amp up for the first time and pushed play there was a ton of gain??Damn EF86. So I went to our trusted friend Google and found a work around. Tie the grids together and connect them to the anode. This dropped the gain by a factor of 4 and all was right in the world.
So Enjoy the pics.
I enjoyed the build even with the struggles and battles that I had.


