To start off, a bit of history on this topic. I bought a Colchester Student lathe a few years back for next to nothing and it has not worked a lot as it was super noisy and had a bad vibration when turning.
A few months back the electrical switch at the back broke and this started a whole exercise to discover the correct switch to find and install. This in turn bred quite a few babies which in the end resulted in me deciding to rip all the electrical wiring out. In turn this exercise bred more babies so now the broken switch replacement exercise has turned into a restoration process.
This on top of the following other projects I am busy with and have started threads on:
A few fellow forumites asked that I start this thread so that they can lift my arms when these become tired and give some motivation. :dop:
So here we go ...
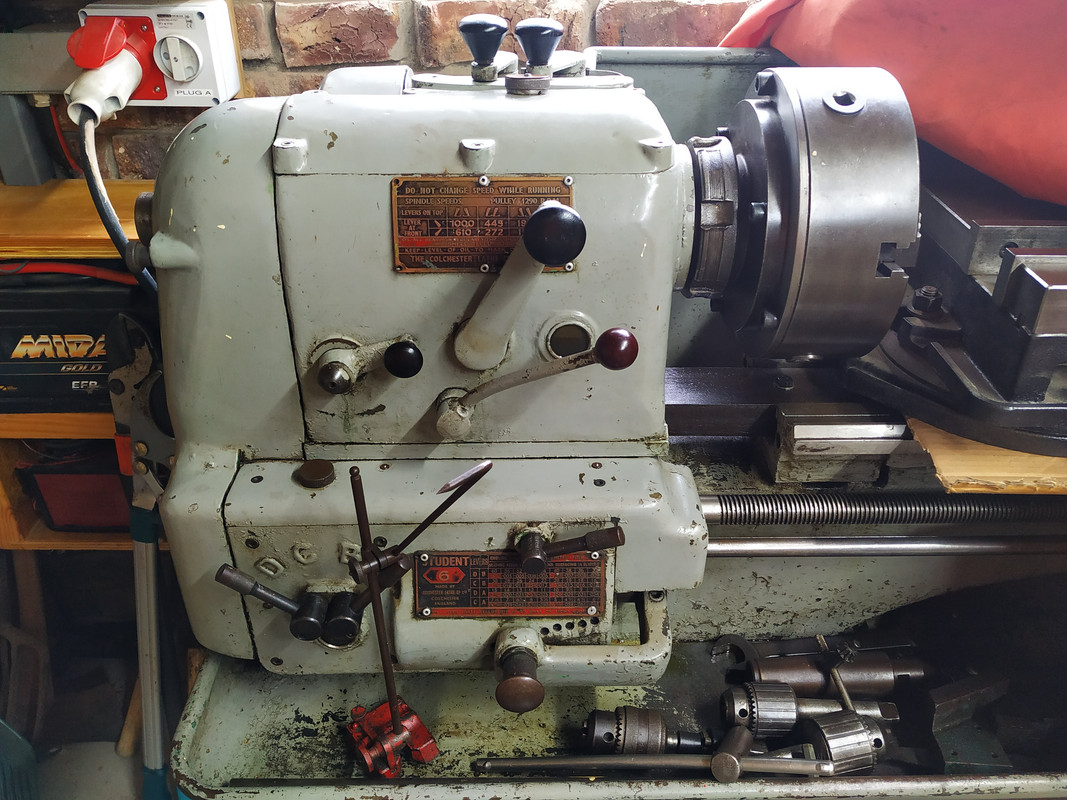
The lathe's head before I started working on it. It is a roundhead Student with the head being loose and bolted to a V-bed and a gap in the bed between the head and the carriage way section.
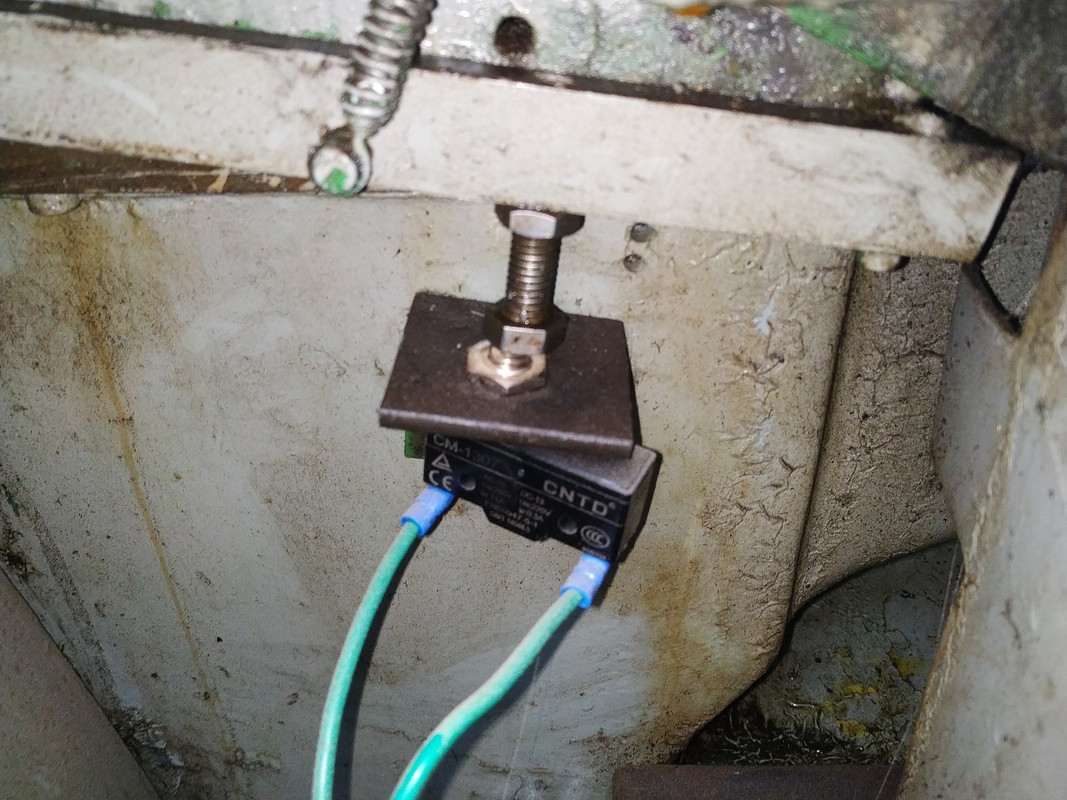
The switch that started it all.
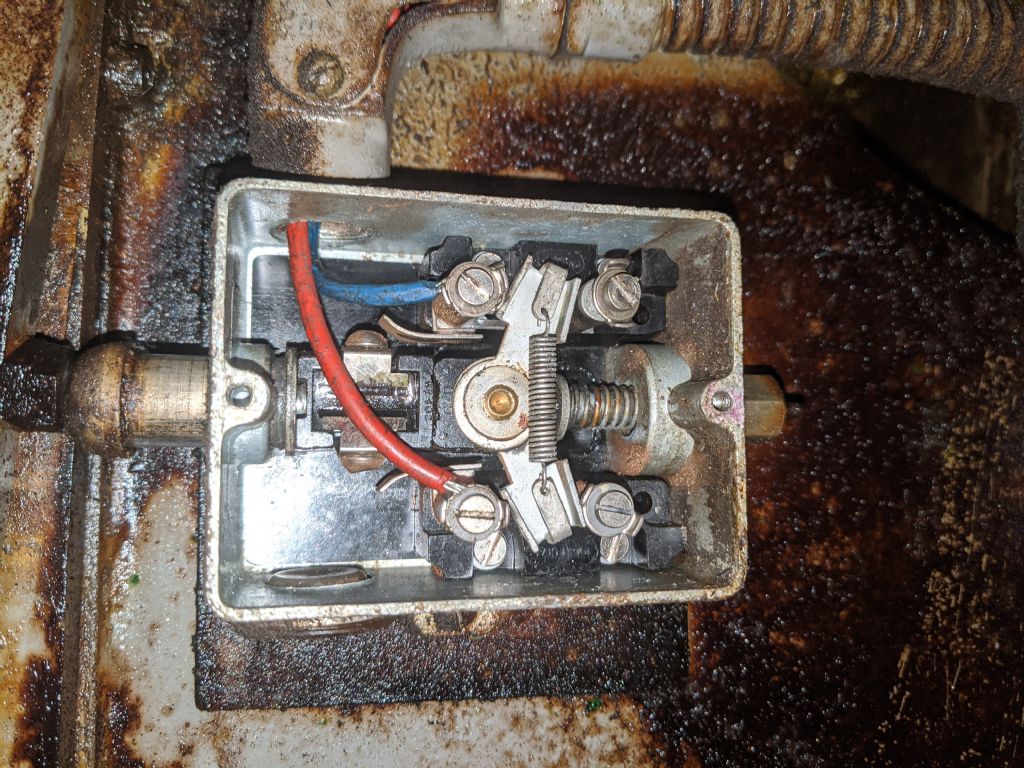
And what should be in there ....
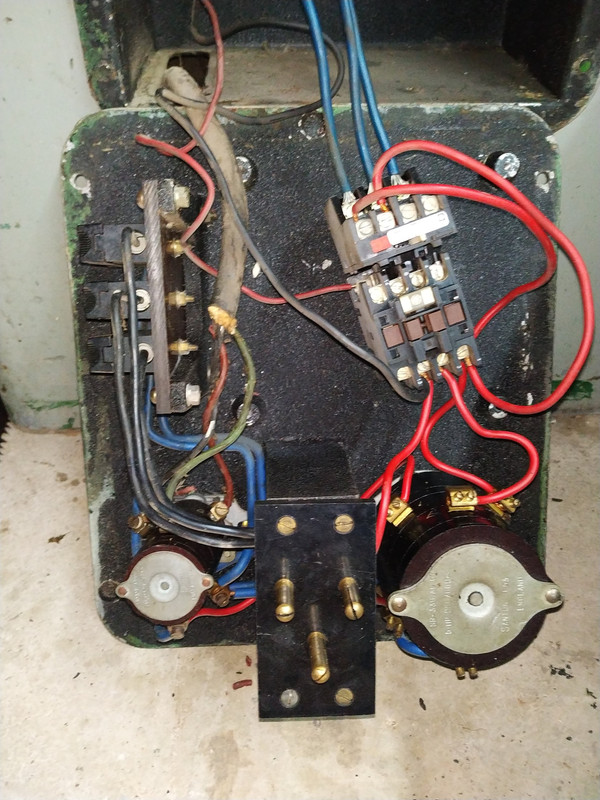
I decided to determine what the existing wiring looks like and found this. A replacement contactor hanging by one screw.
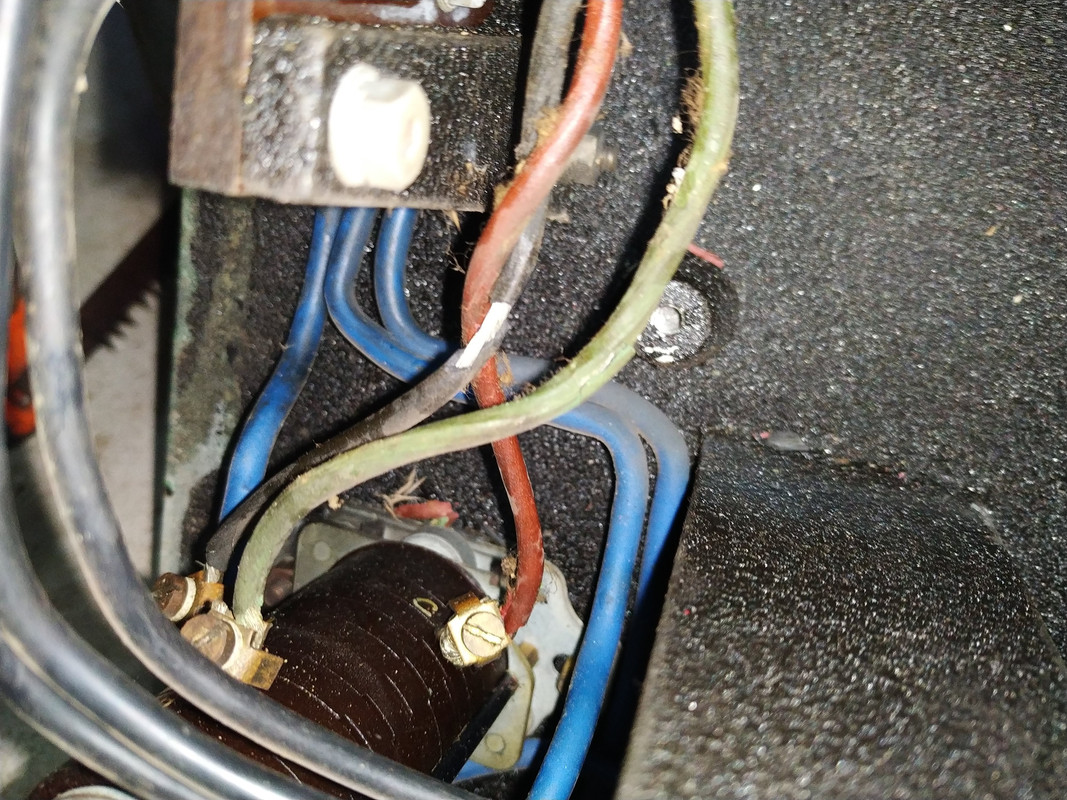
Insulation that simply fell away from the wire.
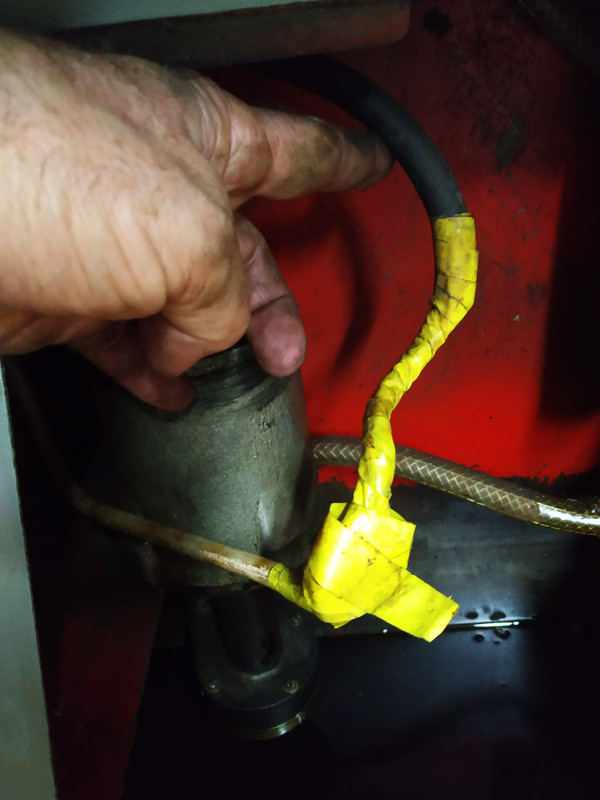
Well joined wire to the coolant pump.
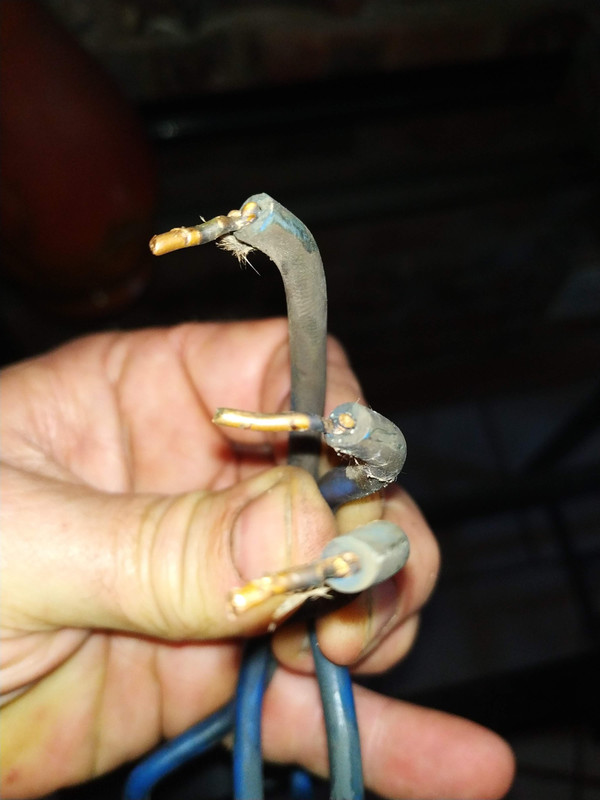
And the straw that broke my patience ... the main wire leading to the on/off switch melted and welded themselves back together ...
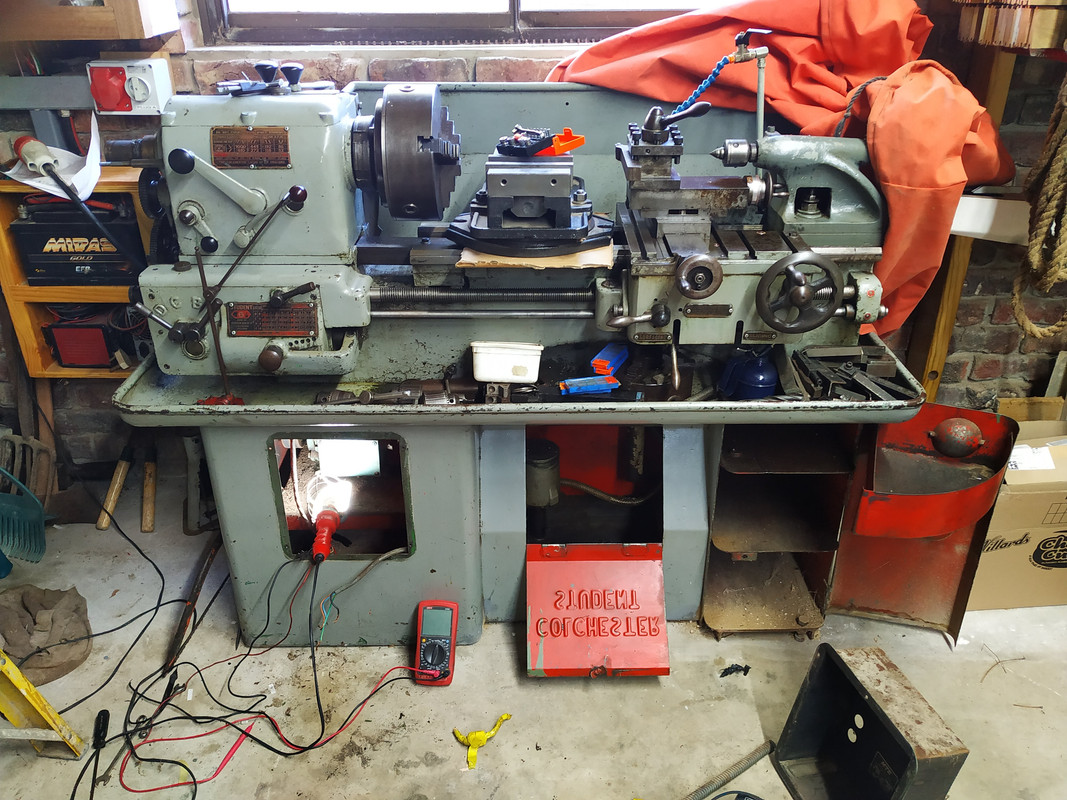
So ... I had enough of shoddy work and I decided to remove all the wiring and electrical equipment ....
A few months back the electrical switch at the back broke and this started a whole exercise to discover the correct switch to find and install. This in turn bred quite a few babies which in the end resulted in me deciding to rip all the electrical wiring out. In turn this exercise bred more babies so now the broken switch replacement exercise has turned into a restoration process.
This on top of the following other projects I am busy with and have started threads on:
- The Quad 33 restoration
- The Quad 303 restoration
- My Pajero's restoration
- A household size water purification project[
A few fellow forumites asked that I start this thread so that they can lift my arms when these become tired and give some motivation. :dop:
So here we go ...
The lathe's head before I started working on it. It is a roundhead Student with the head being loose and bolted to a V-bed and a gap in the bed between the head and the carriage way section.

The switch that started it all.

And what should be in there ....

I decided to determine what the existing wiring looks like and found this. A replacement contactor hanging by one screw.

Insulation that simply fell away from the wire.

Well joined wire to the coolant pump.

And the straw that broke my patience ... the main wire leading to the on/off switch melted and welded themselves back together ...

So ... I had enough of shoddy work and I decided to remove all the wiring and electrical equipment ....


