So the wifey nagged me about getting sound into our bedroom that wasn't limited to my current Audio-GD + headphone setup. Hairdryers and Hifiman headphones don't mix which was a good point. So I started a build and thought I'd post some of the pics for all to see the finished project.
Started off with a Rod Elliot power amp. Managed to get hold of a 2nd hand Audio-GD case - "alles moet mos die selvde lyk" with us audiophiles.
 [/URL]
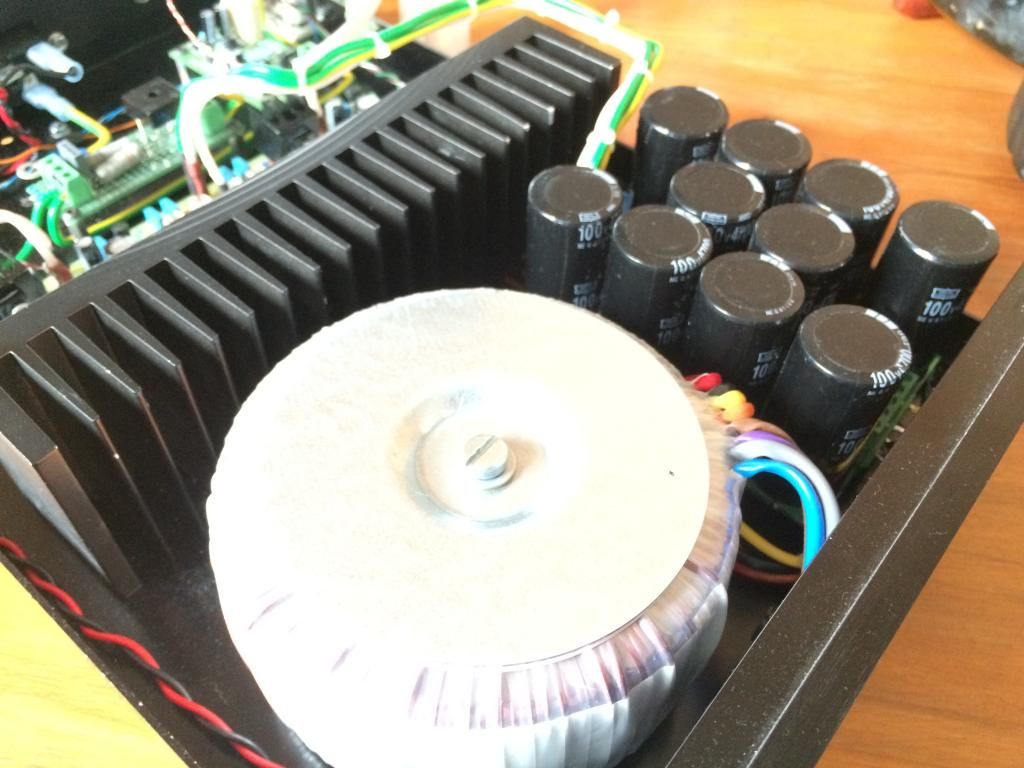
Above is the 300va transformer and a Greg Bell power supply (heavily oversized at 47,000uF) but hey I had it laying there looking at me The heatsink was machined down from a larger unit and I sprayed it matt black to improve the thermal conductivity. Worked quite nicely in the case as the fins lined up with the top and bottom slots in the cover (see pic below).
 [/URL]
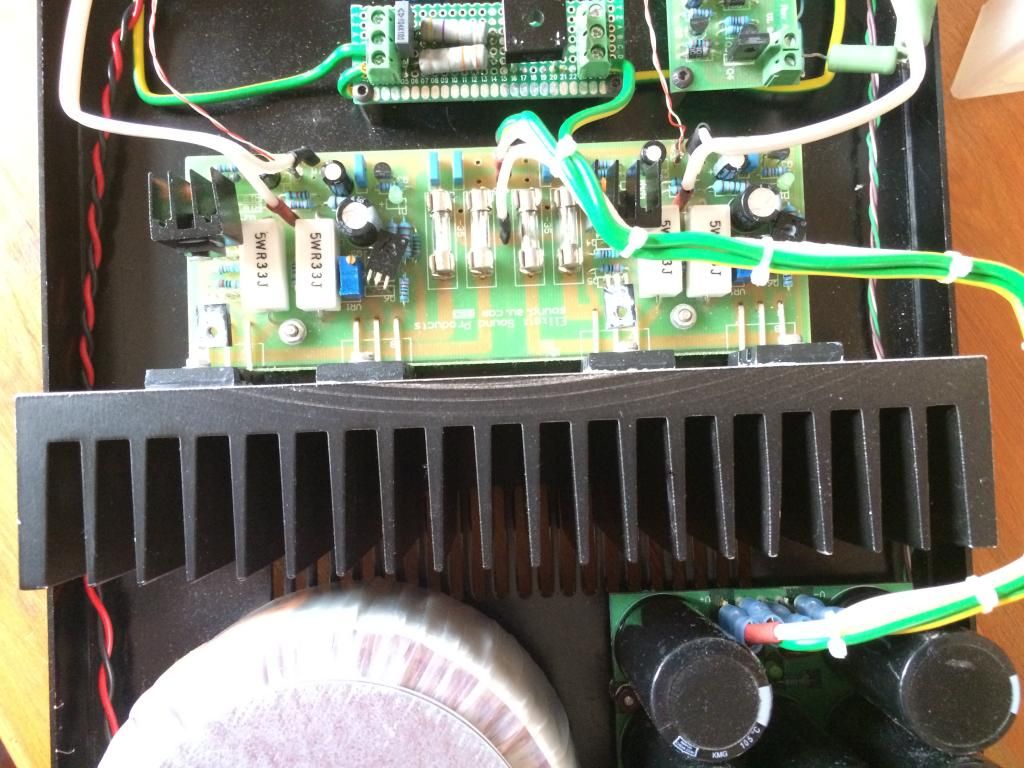
Also shown above are the Rod Elliot P03a's. These push out close on 60w class AB. For the simplistic design I can't believe the sound these put out - they completely outshine some of the other amps I've had. Really amazing bang for buck these.
 [/URL]
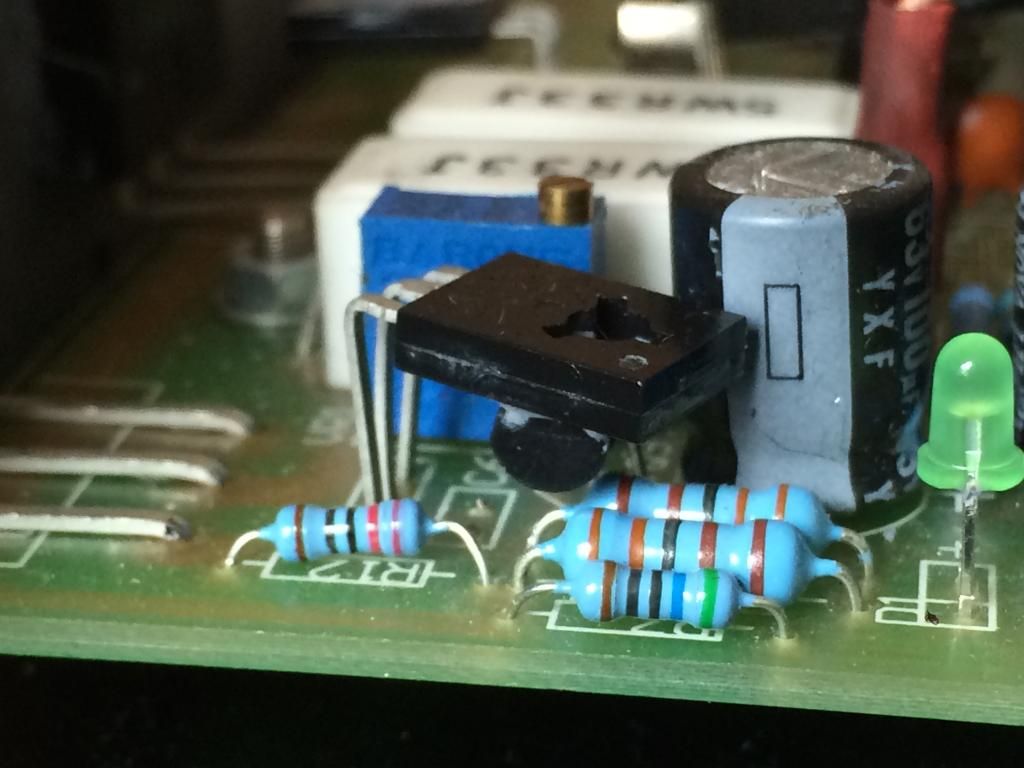
A small mod I did to bring it closer to the current rev B of this amp - got the Q9 and Q6 touching to allow for thermal feedback between the two. Most other amps have these attached to the heatsink.
 [/URL]
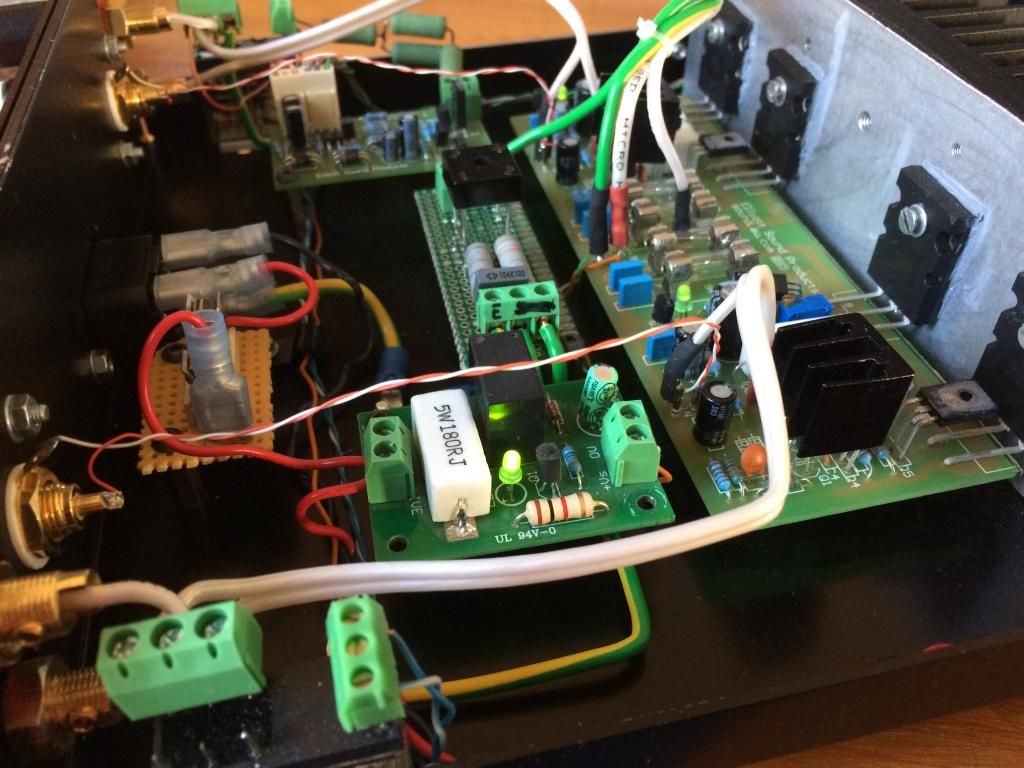
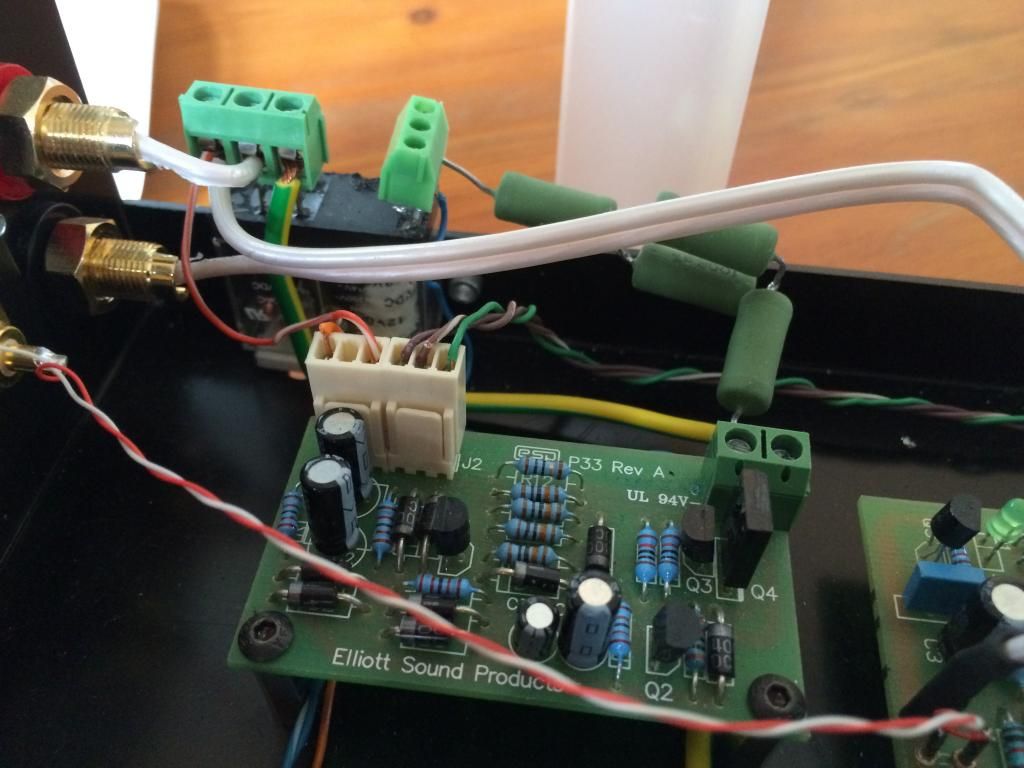
Busy pic above - shows the relays for the speaker output closest, followed by a soft-start (I couldn't get proper fuses in Ghana so had to limit the in-rush current) and you guessed it I had one laying around (Greg Bell unit), then a small DIY PCB based on Rod elliot's loop-blocker design in the middle, then the DC-sensing board from Rod Elliot (see below for the closeup).
 [/URL]
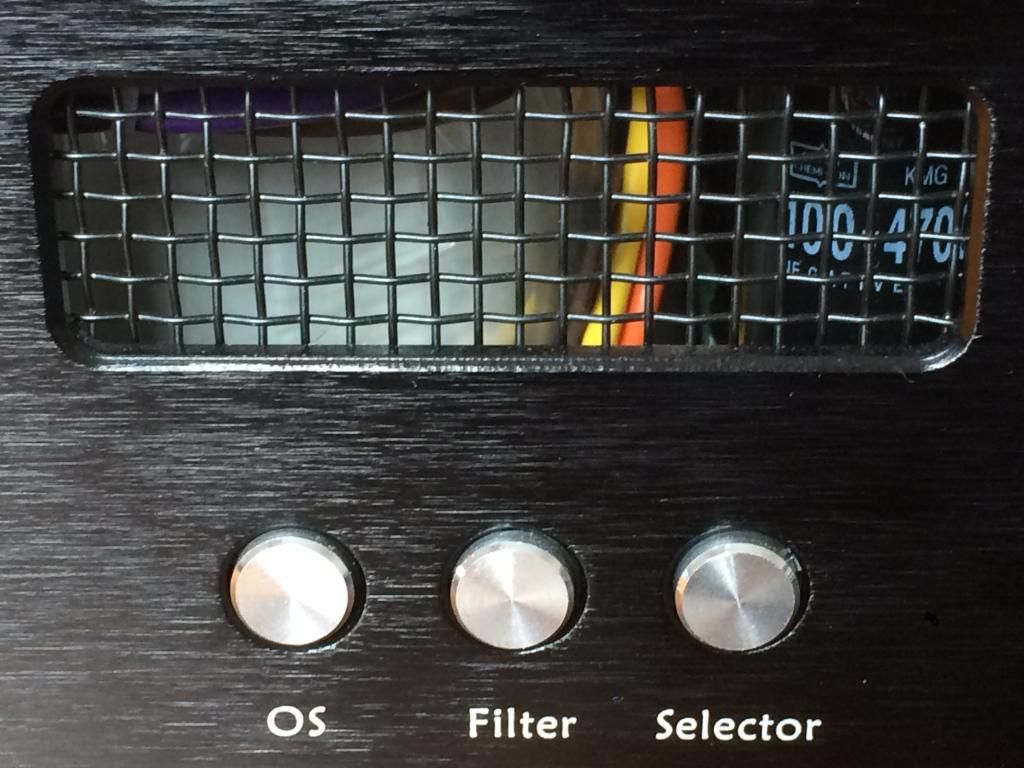
One can never have too much ventilation here - also the buttons are just for show.
 [/URL]
 [/URL]
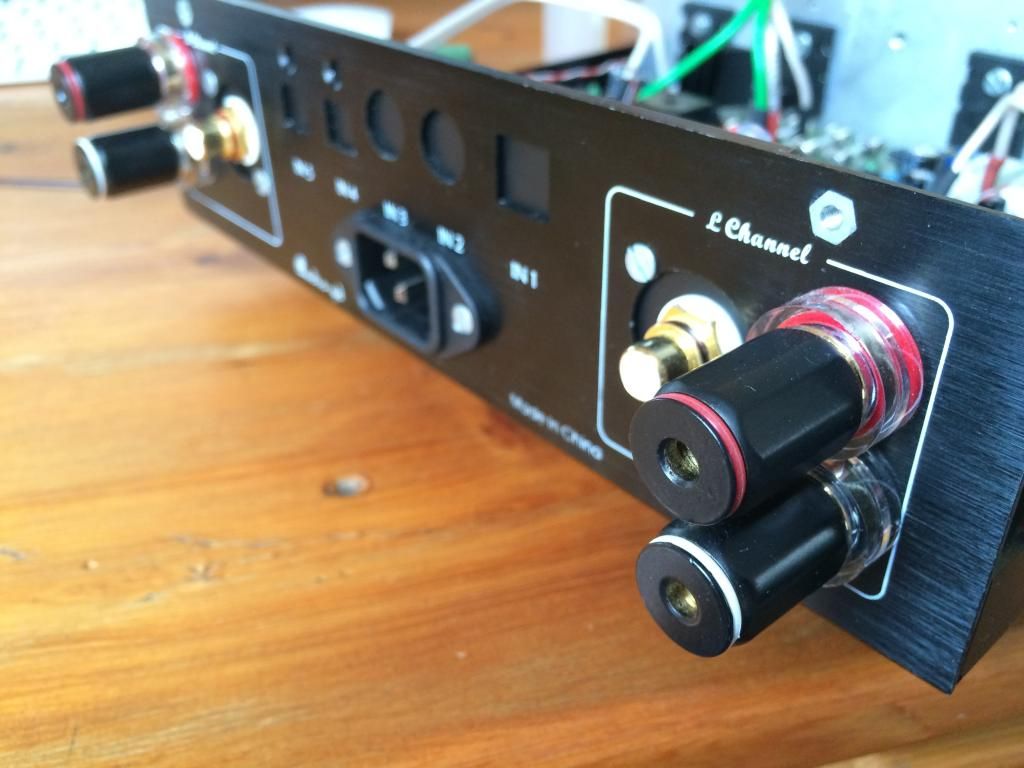
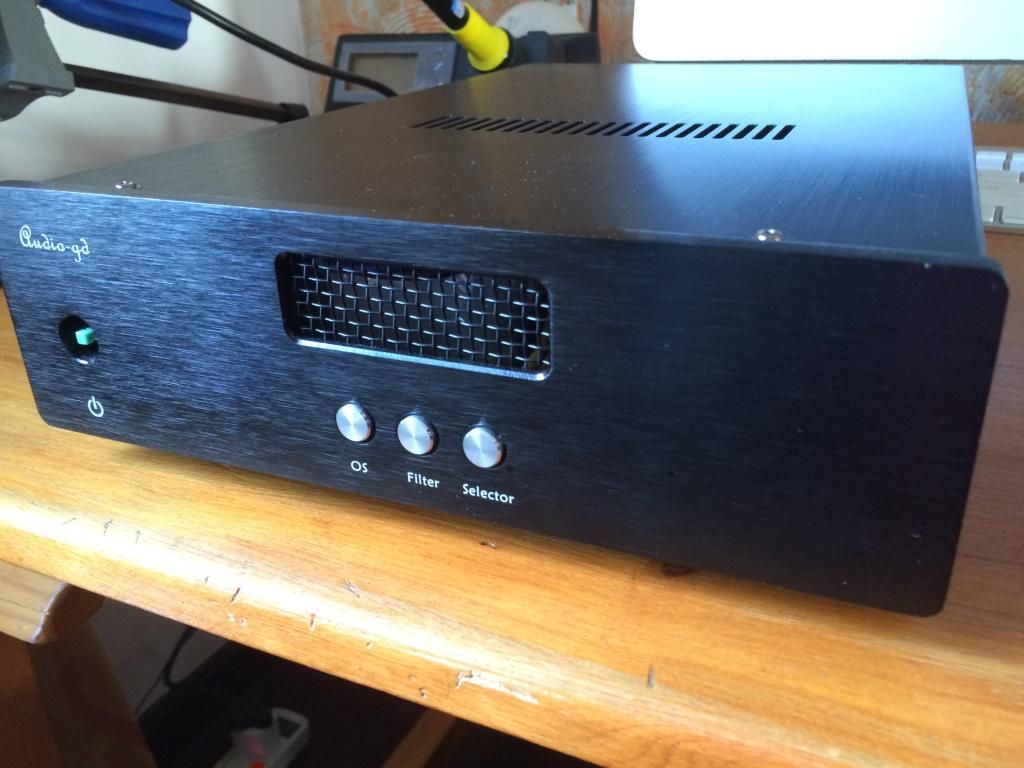
Above is the rear of the unit - see the cool cover plate I cut to close the unneeded holes - mooi ne? Some fancy binding posts to top her off. And then the finished unit:
 [/URL]
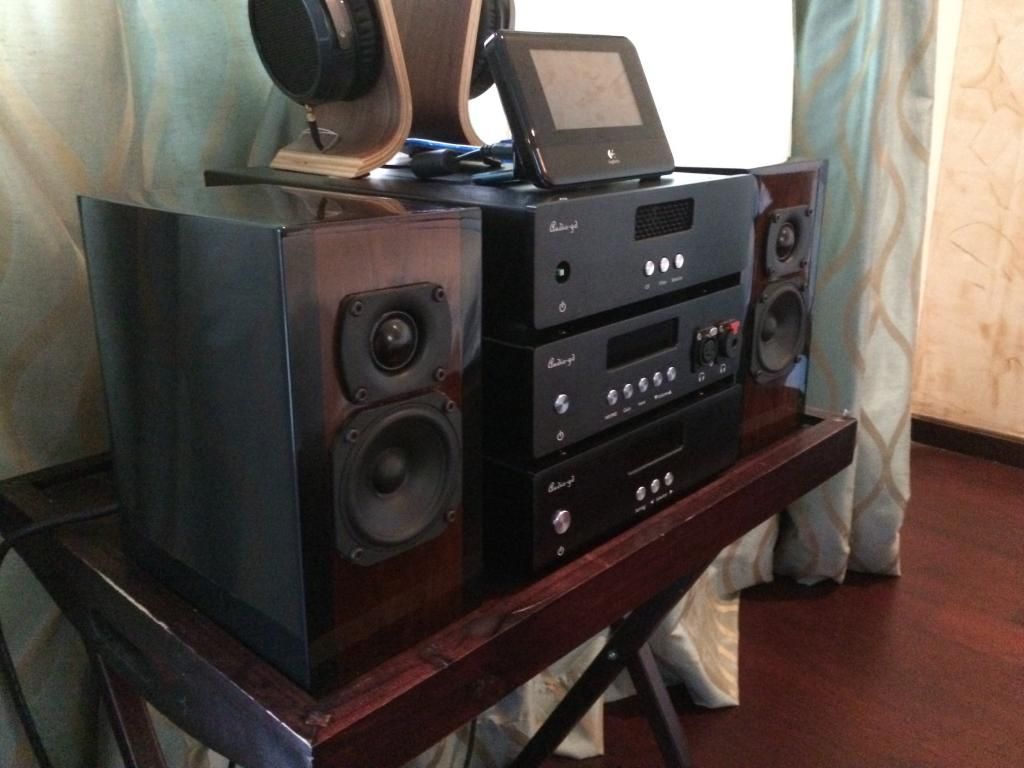
And here she is in place with the rest of her Audio -GD siblings.
Hope you guys enjoyed the pics
Started off with a Rod Elliot power amp. Managed to get hold of a 2nd hand Audio-GD case - "alles moet mos die selvde lyk" with us audiophiles.

Above is the 300va transformer and a Greg Bell power supply (heavily oversized at 47,000uF) but hey I had it laying there looking at me

Also shown above are the Rod Elliot P03a's. These push out close on 60w class AB. For the simplistic design I can't believe the sound these put out - they completely outshine some of the other amps I've had. Really amazing bang for buck these.

A small mod I did to bring it closer to the current rev B of this amp - got the Q9 and Q6 touching to allow for thermal feedback between the two. Most other amps have these attached to the heatsink.

Busy pic above - shows the relays for the speaker output closest, followed by a soft-start (I couldn't get proper fuses in Ghana so had to limit the in-rush current) and you guessed it I had one laying around (Greg Bell unit), then a small DIY PCB based on Rod elliot's loop-blocker design in the middle, then the DC-sensing board from Rod Elliot (see below for the closeup).

One can never have too much ventilation here - also the buttons are just for show.


Above is the rear of the unit - see the cool cover plate I cut to close the unneeded holes - mooi ne? Some fancy binding posts to top her off. And then the finished unit:

And here she is in place with the rest of her Audio -GD siblings.

Hope you guys enjoyed the pics
